Raptor Explorer - Guide
Last updated: 2025-02-22
Raptor Explorer is a Chrome extension for analyzing Turo vehicle listings and performance metrics. This guide explains all features, data points, and calculations available in the extension.
Raptor Explorer is not affiliated with Turo Inc. The name "Turo" is a registered trademark of Turo Inc. Use of this registered trademark is only used as necessary to identify the products and services referenced and does not imply or suggest, nor is it intended to imply or suggest, any affiliation, endorsement, partnership, or business relationship with Turo Inc.
Installation
Add to Chrome
To install Raptor Explorer, follow these steps:
- Visit the Chrome Web Store page for Raptor Explorer
- Click the "Add to Chrome" button on the Chrome Web Store page
- Review the permissions and click "Add extension" in the confirmation dialog
- Wait for the installation to complete
- Once installed, you'll see the Raptor Explorer icon in your Chrome toolbar
 ← Look for this icon in your toolbar
Important Notes
- Tested in Chrome browser only
- All data collection is limited to Turo.com domain
- We do not collect any personal information, including any details associated with your Turo account
How to Use
1. Open Search Page
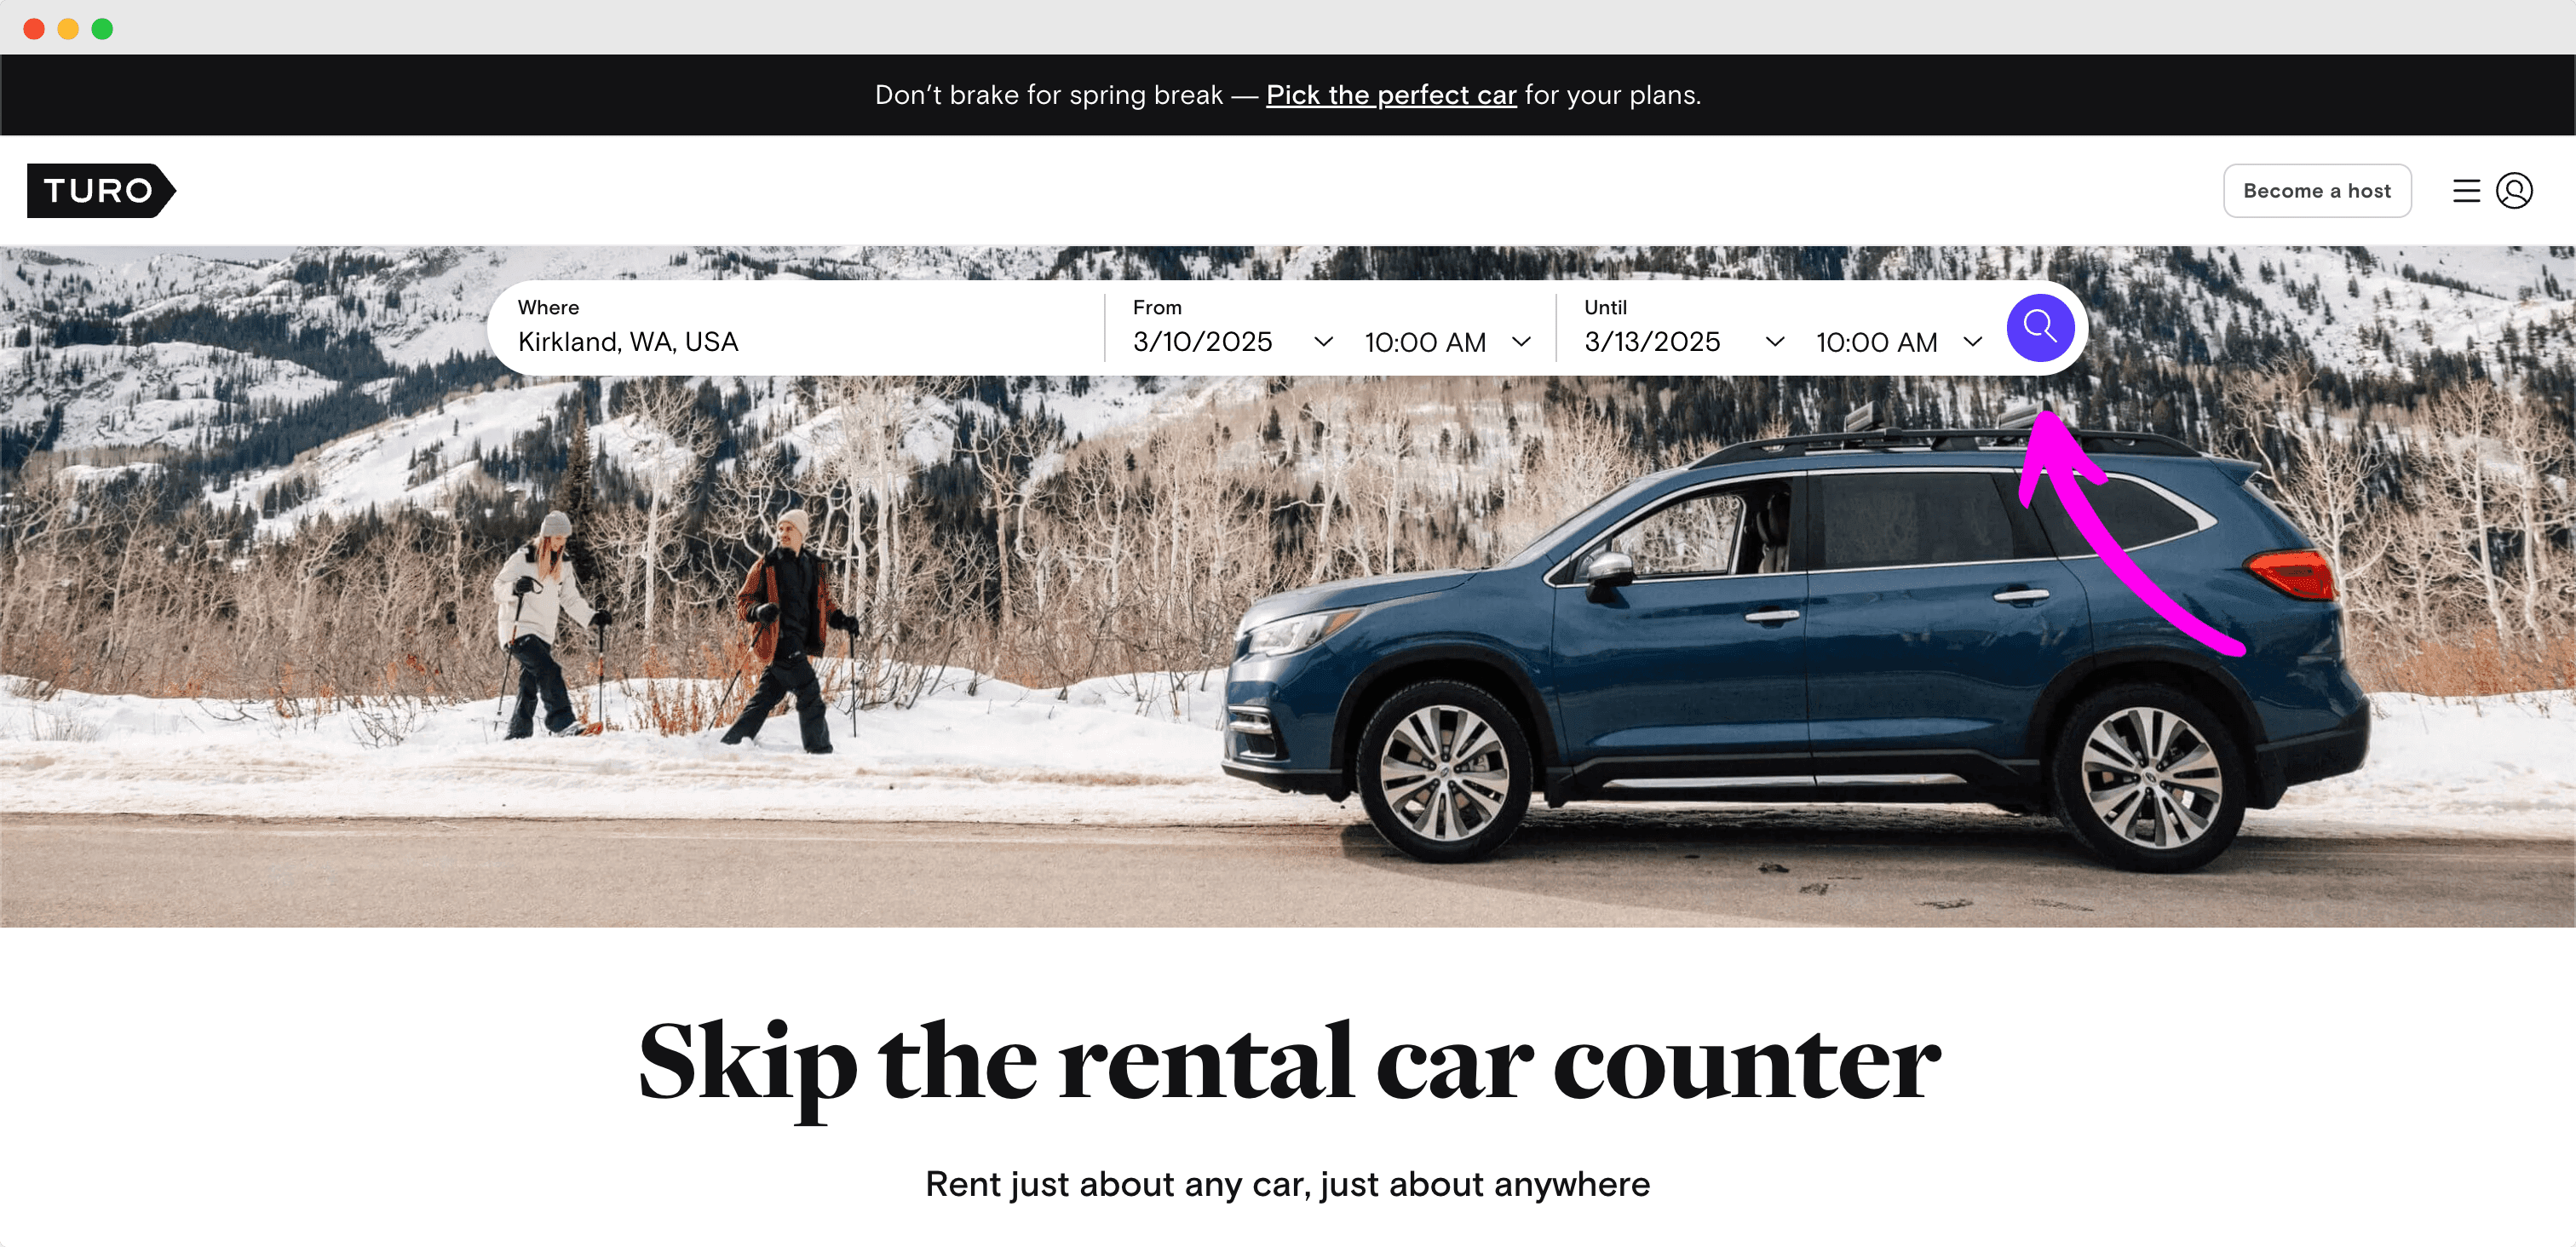
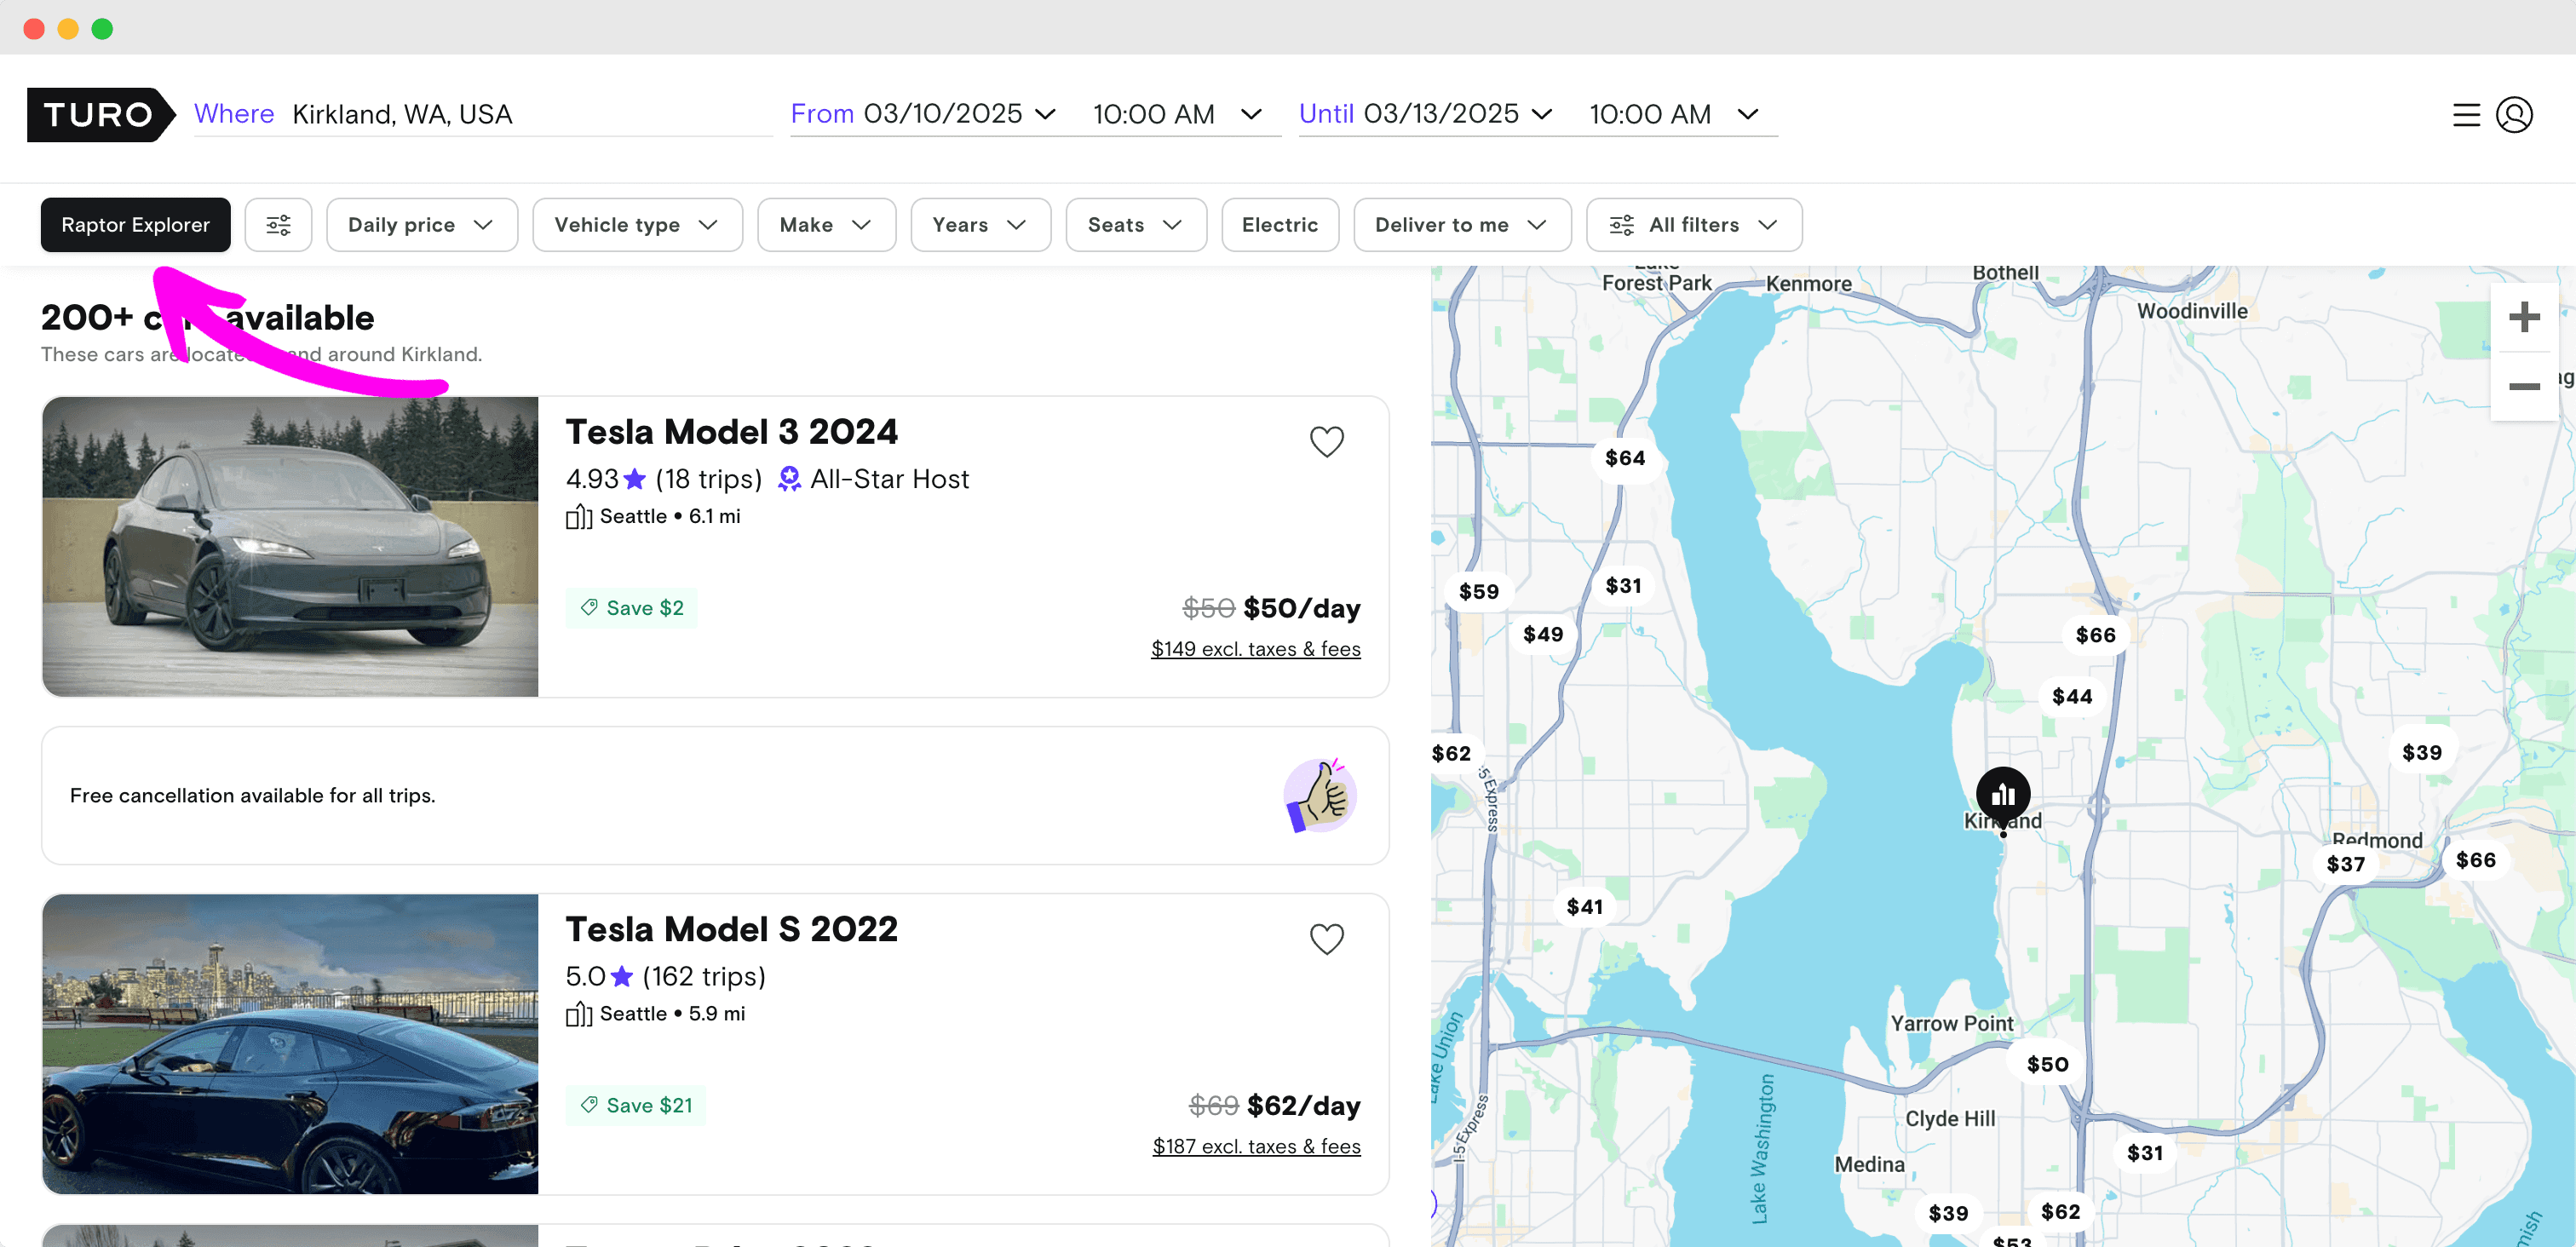
Start by searching for a vehicle on Turo in the desired location. Set a rental duration of 2-3 days, ideally a few months ahead, for broader results. Look for the "Raptor Explorer" button at the top-left above the search results. Click this button to open the extension's data table.
2. Sign in with Google
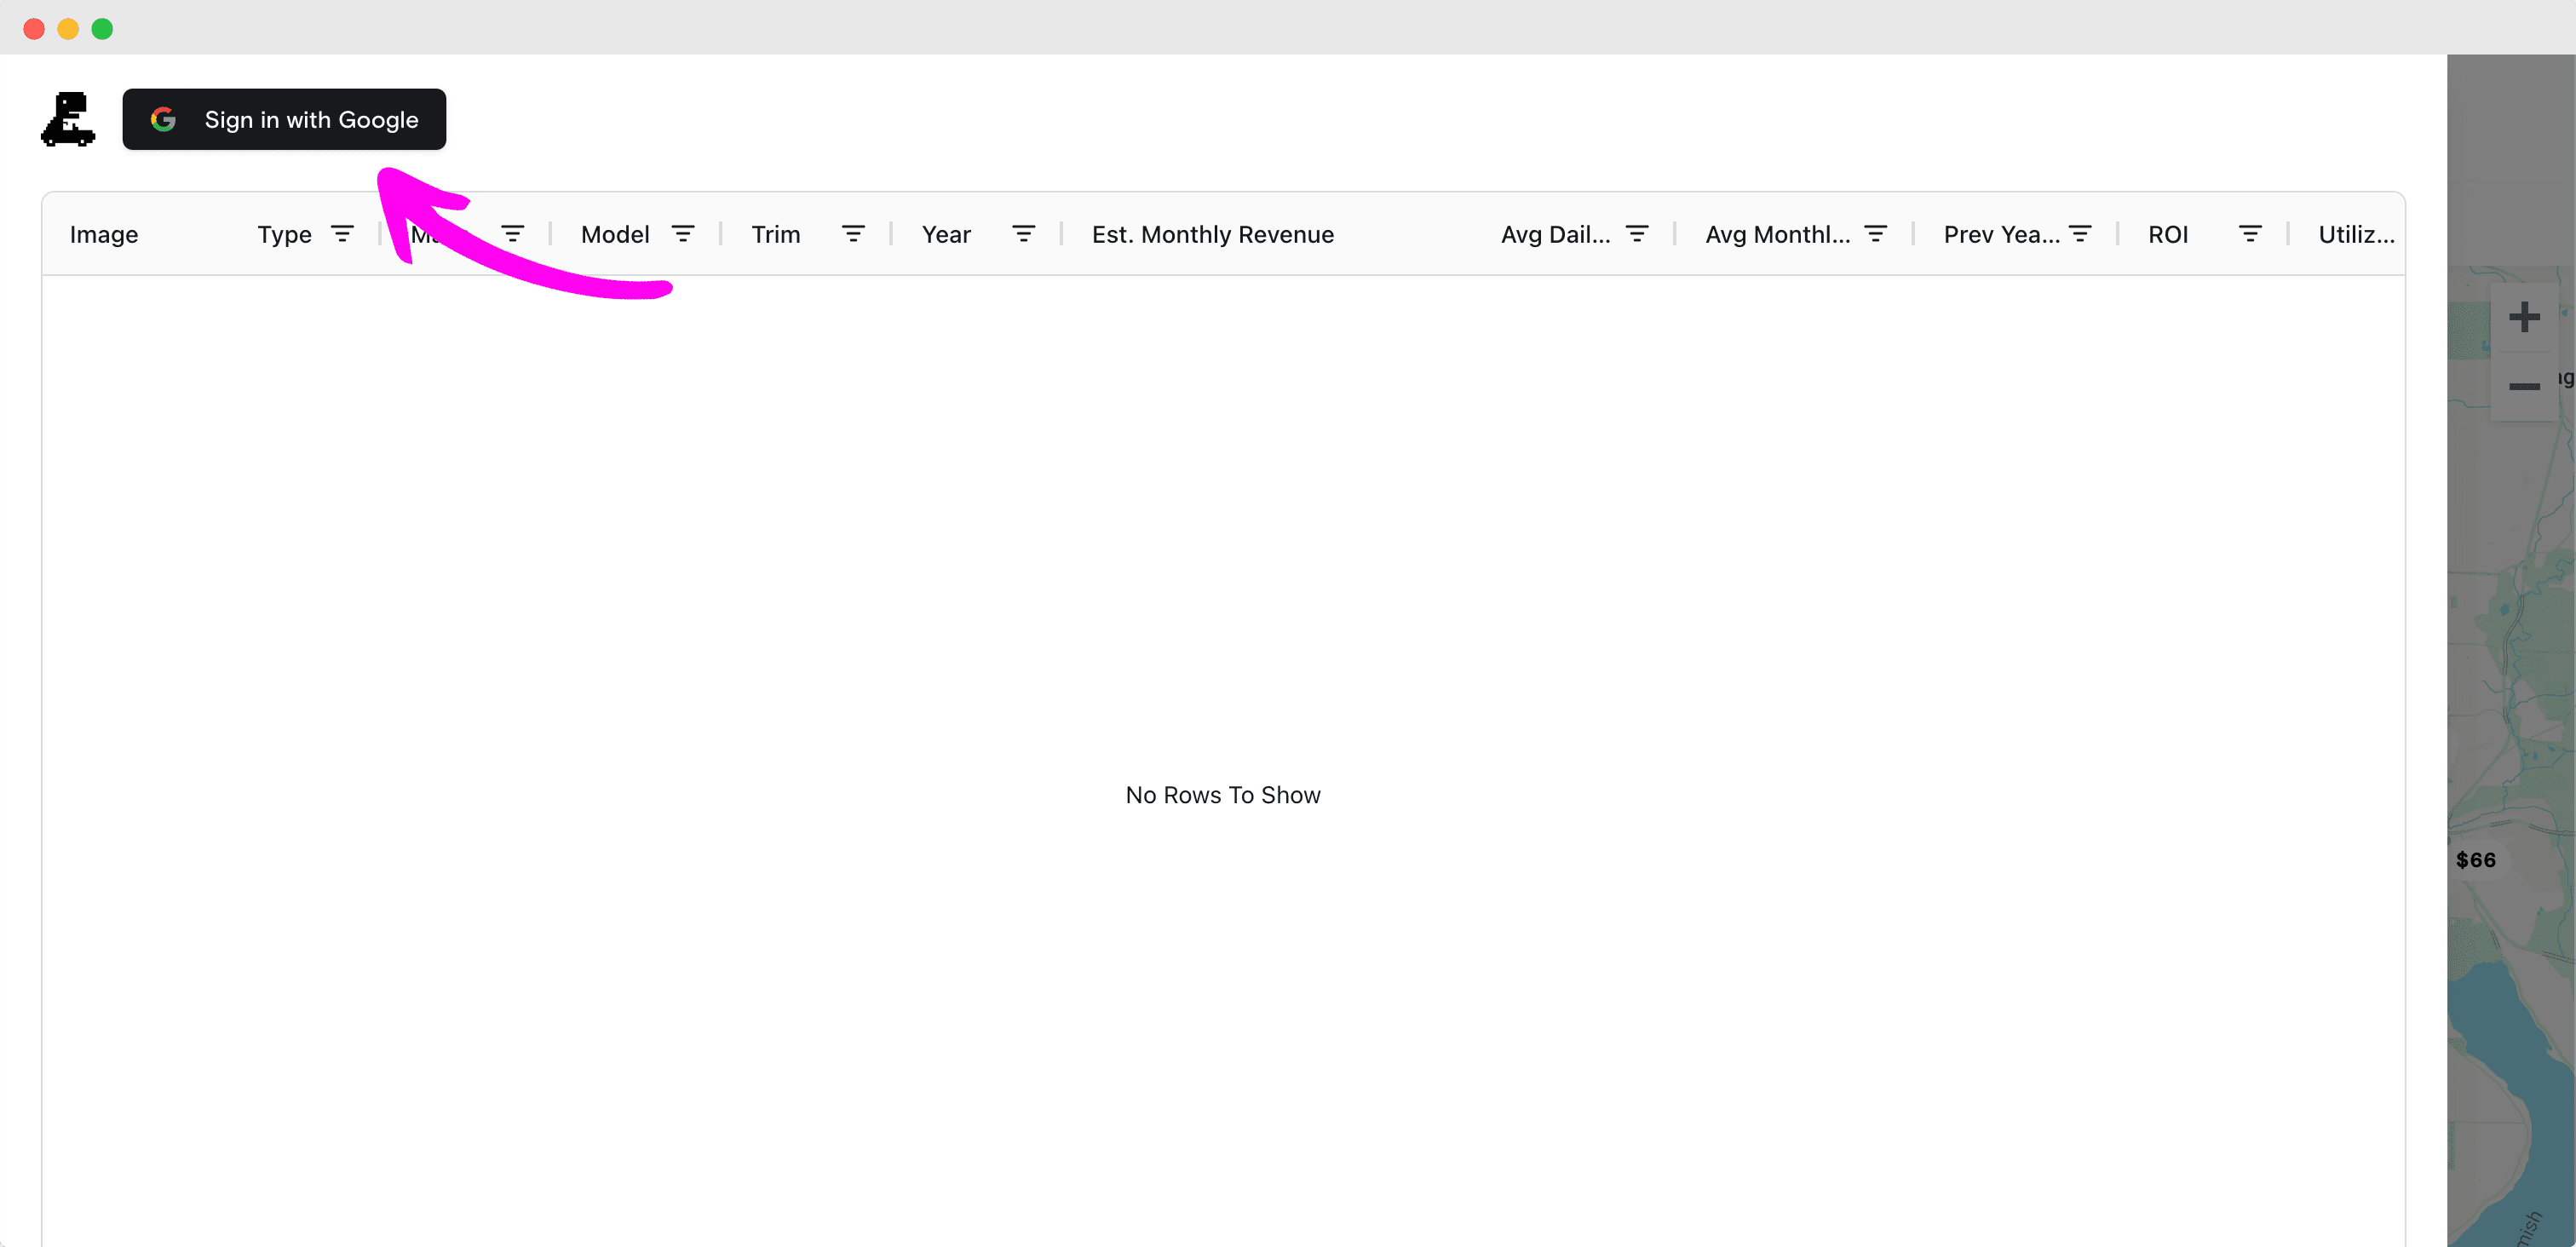
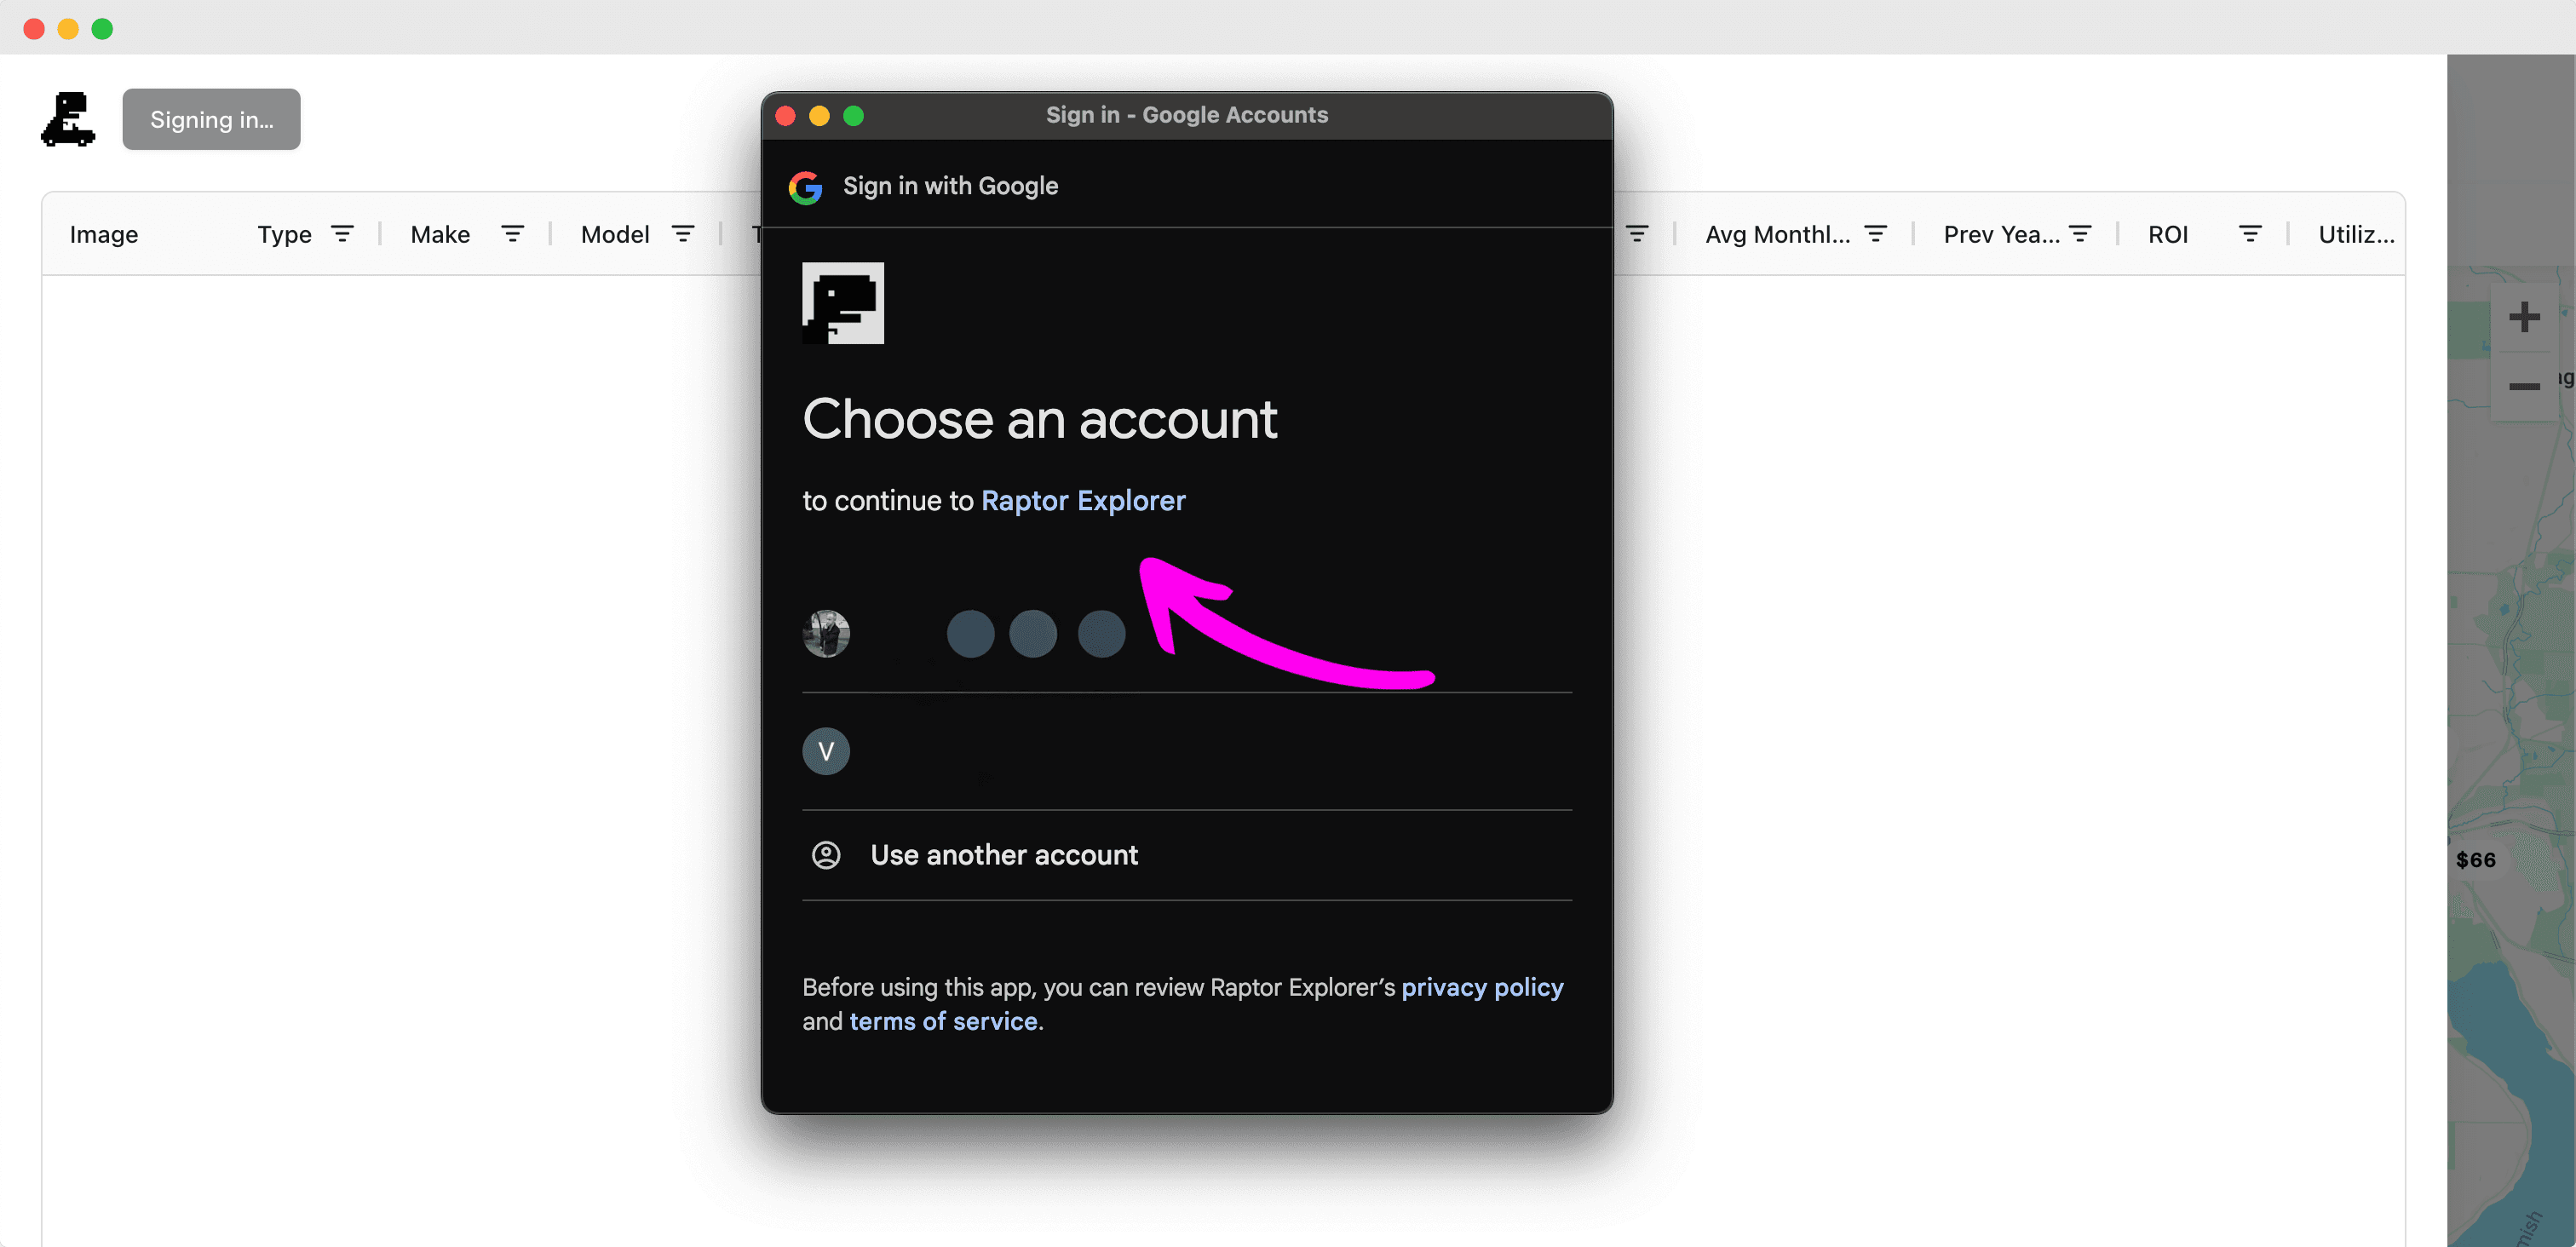
Click on "Sign in with Google" and select your Google account. Raptor Explorer only accesses your email for communication purposes and does not collect personal information.
3. Start Recording
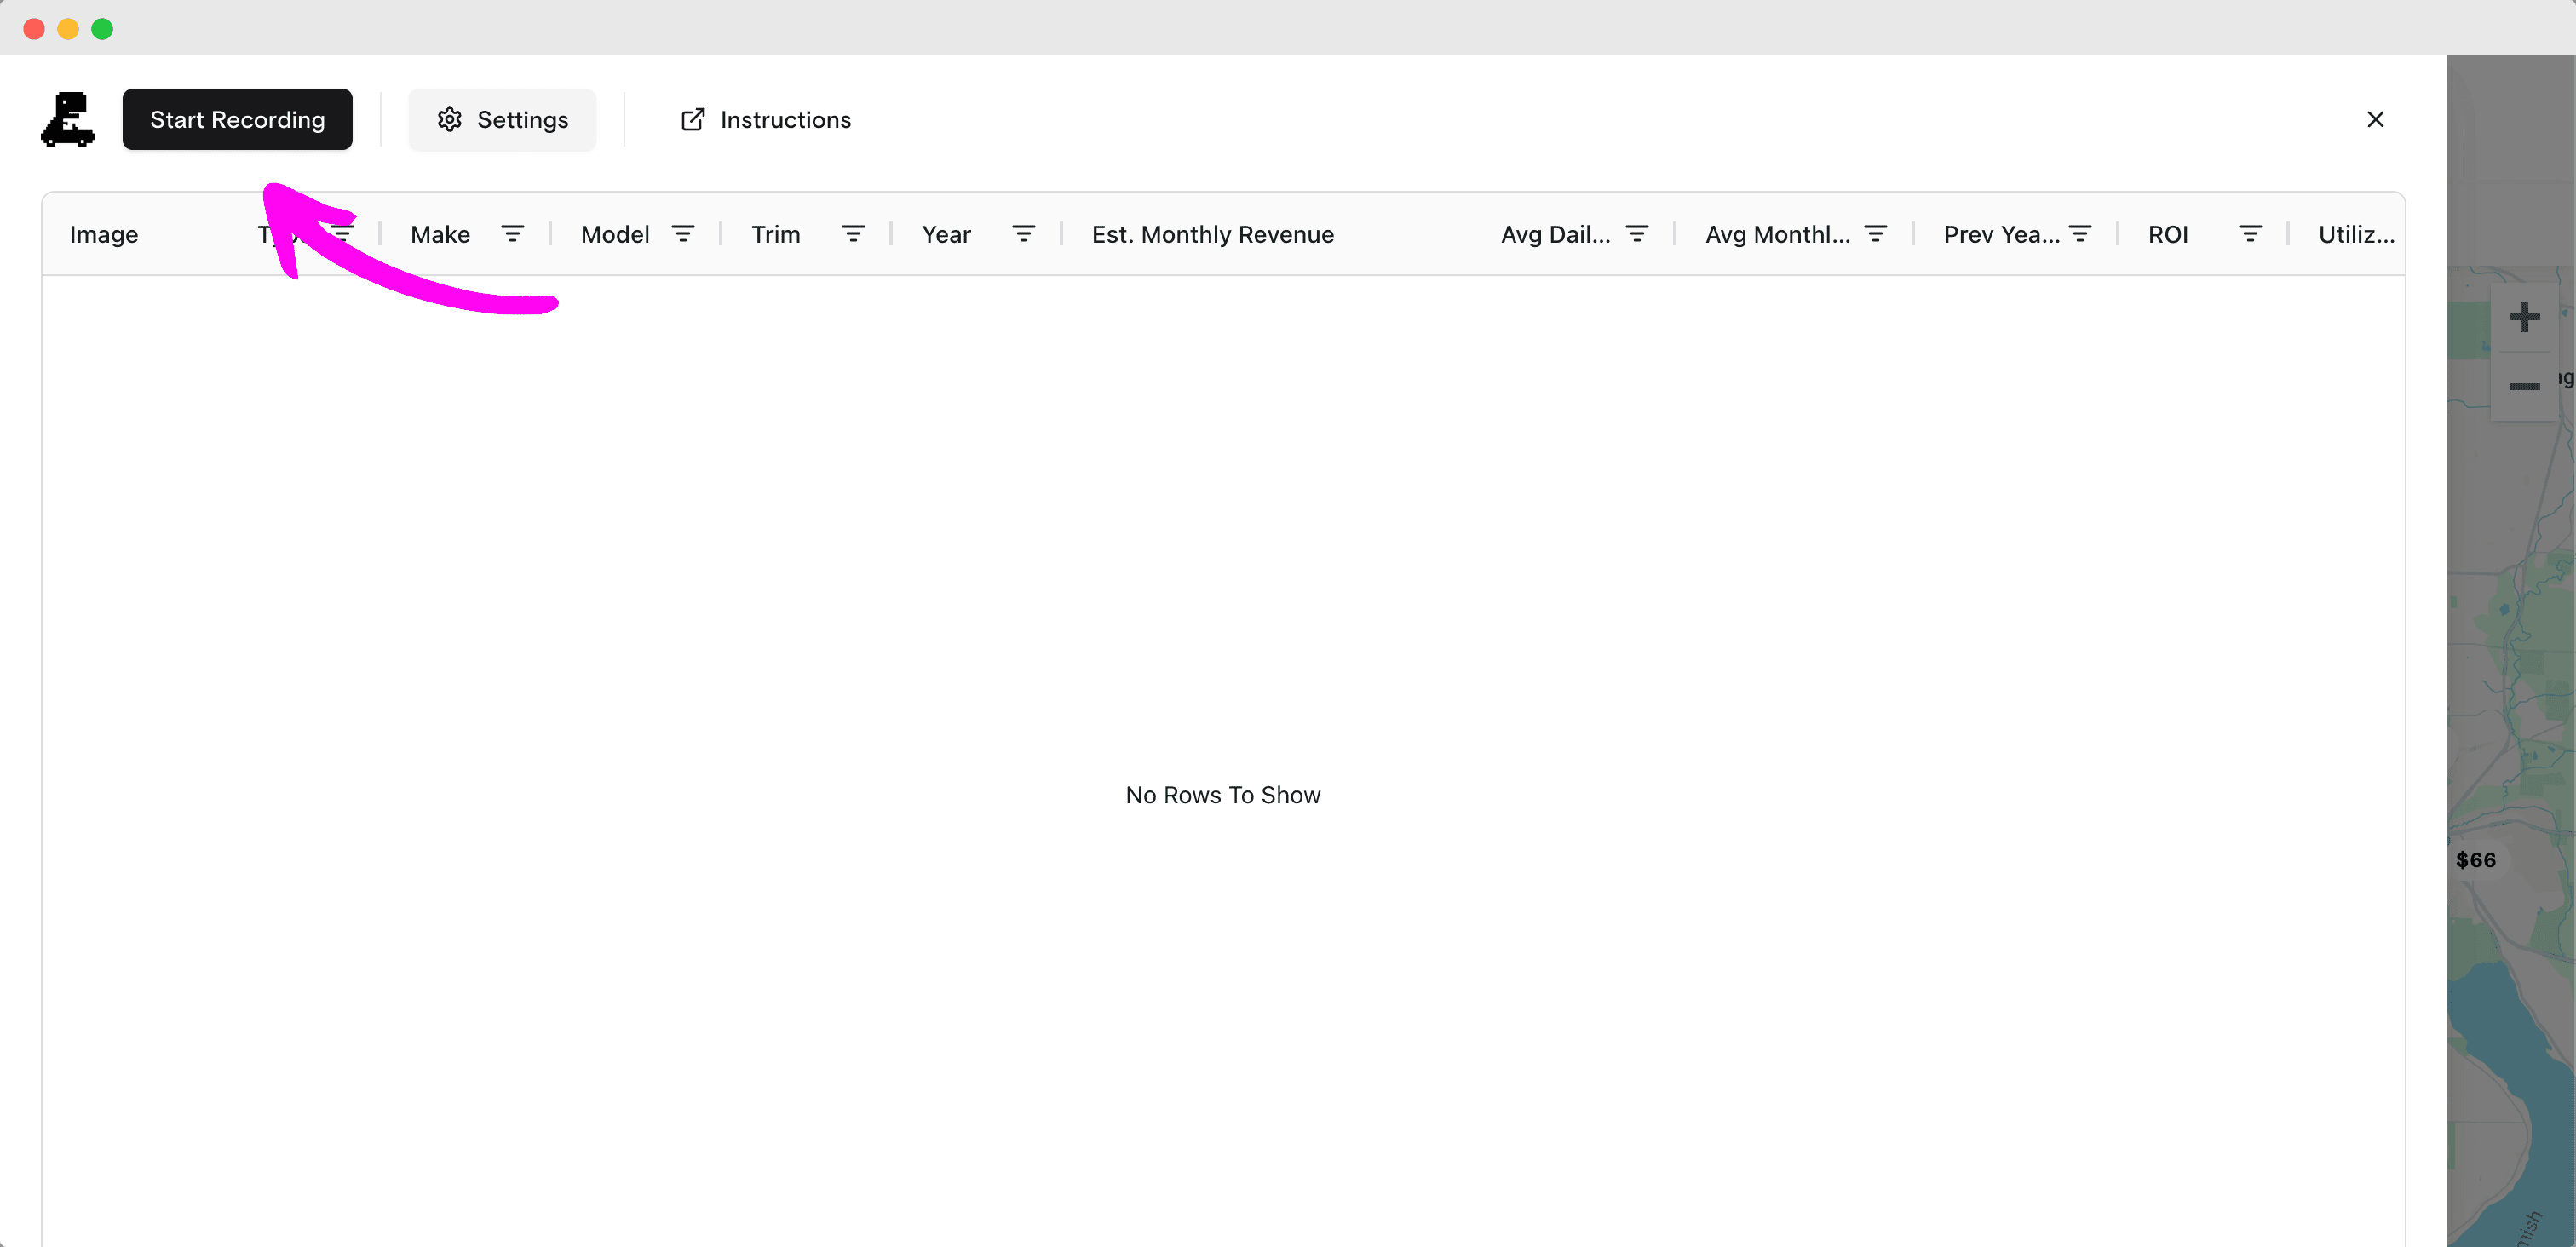
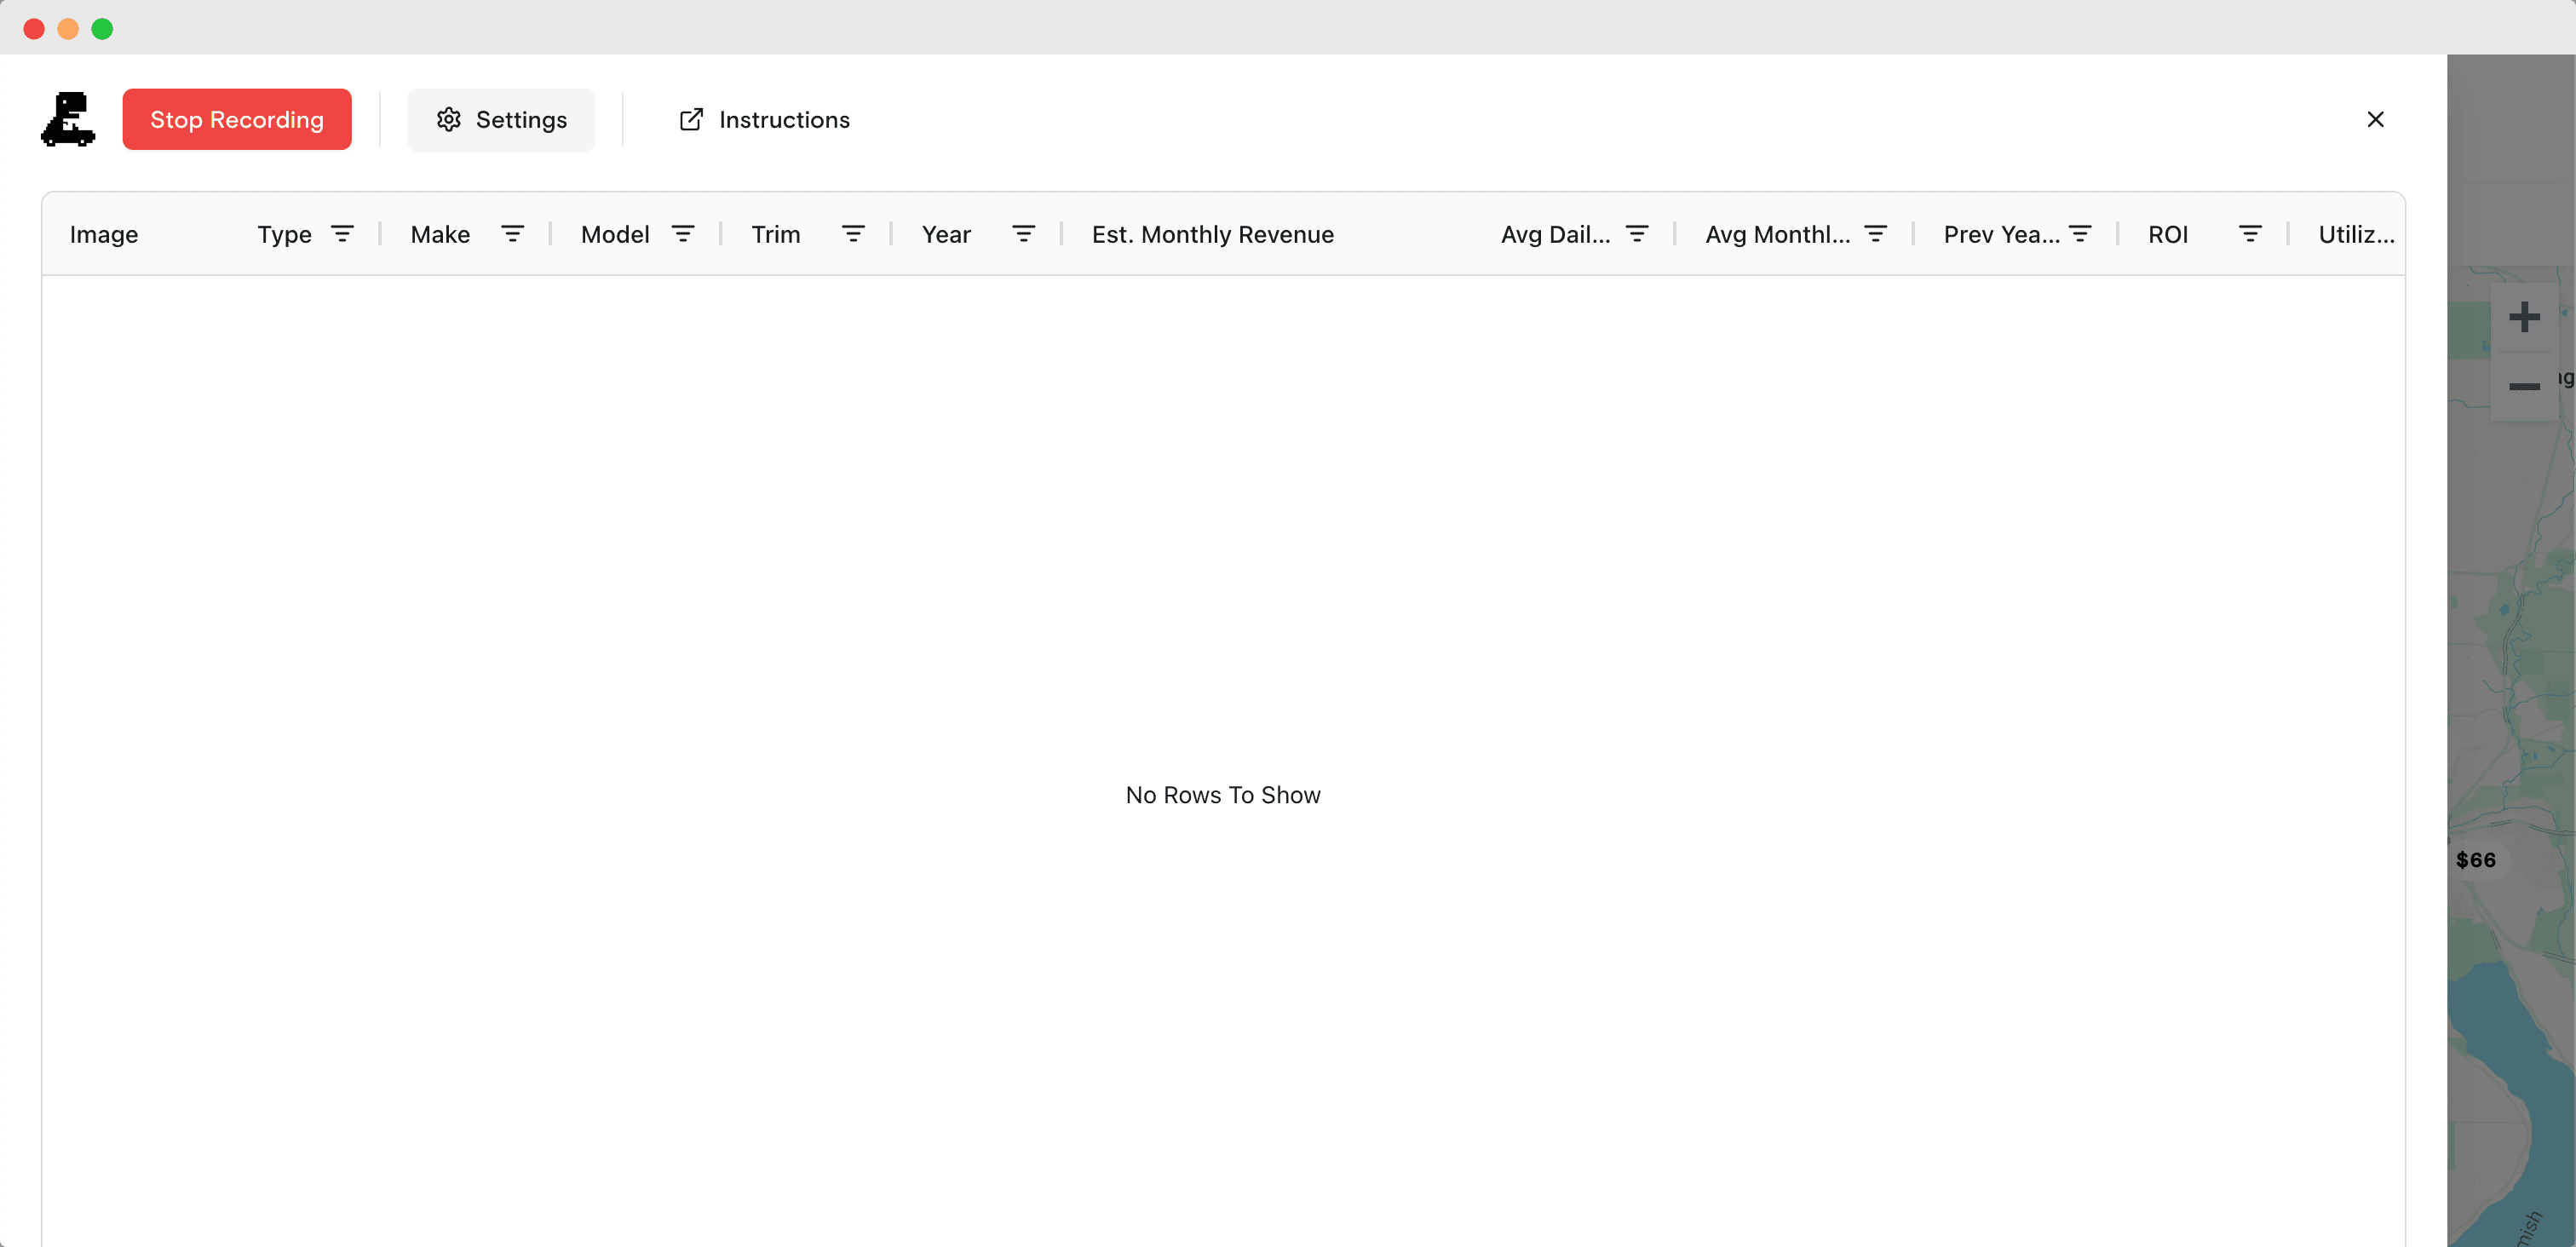
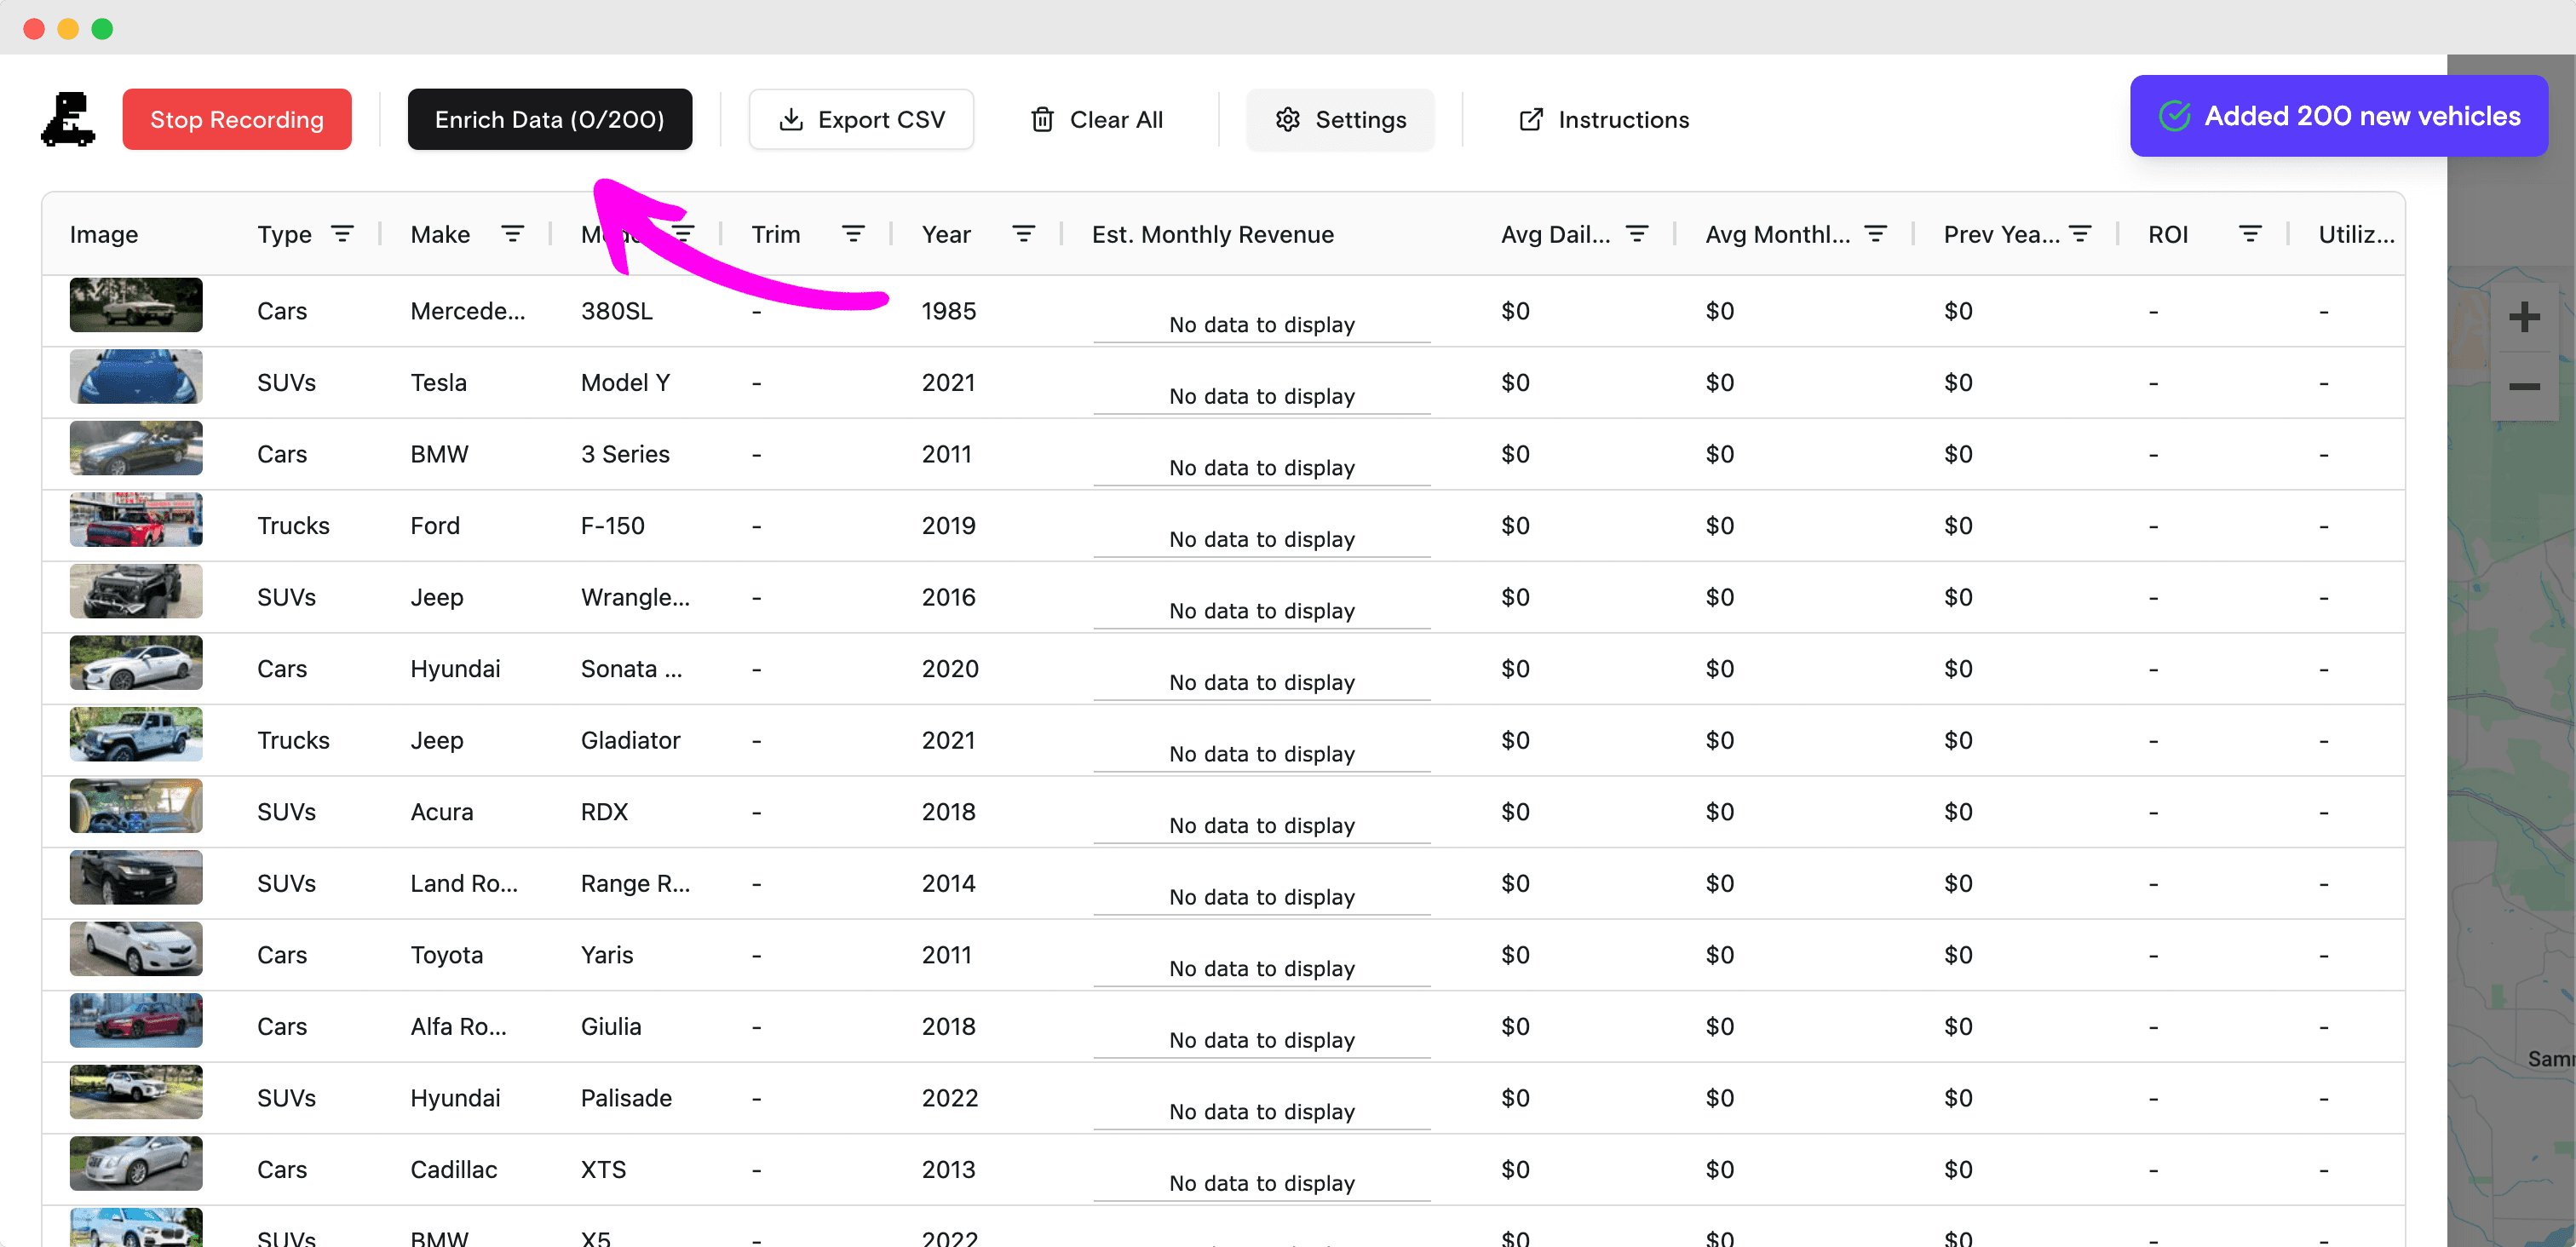
Press the "Start recording" button to allow the extension to begin adding vehicles to the list when data is retrieved from Turo.
4. Update Search
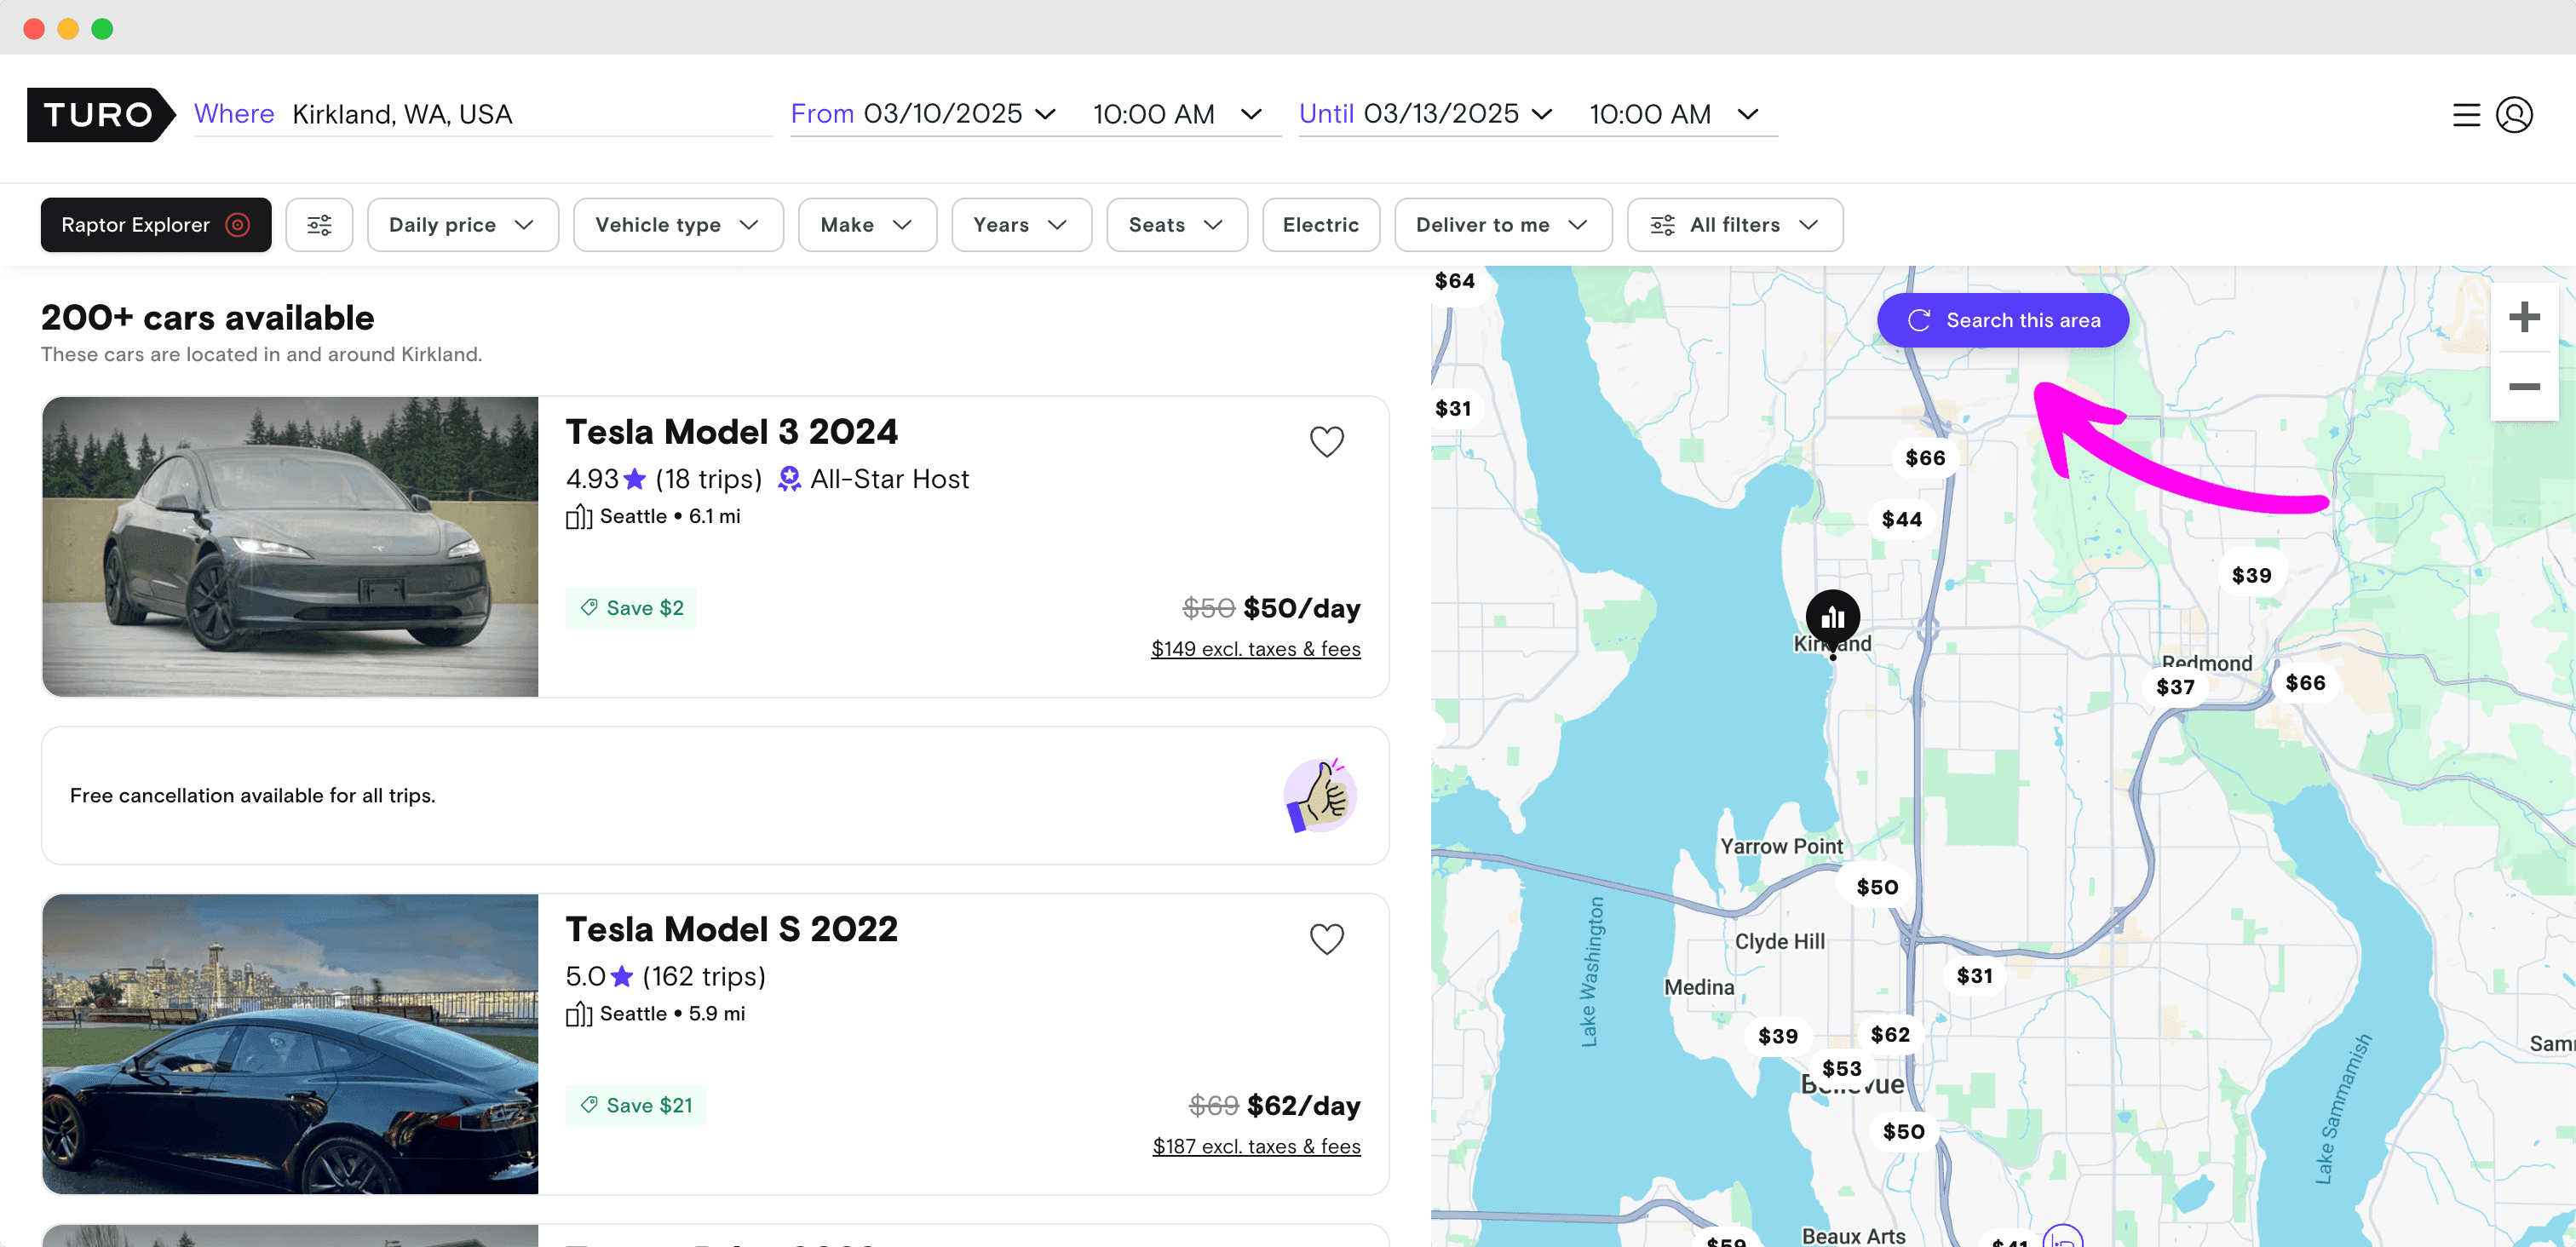
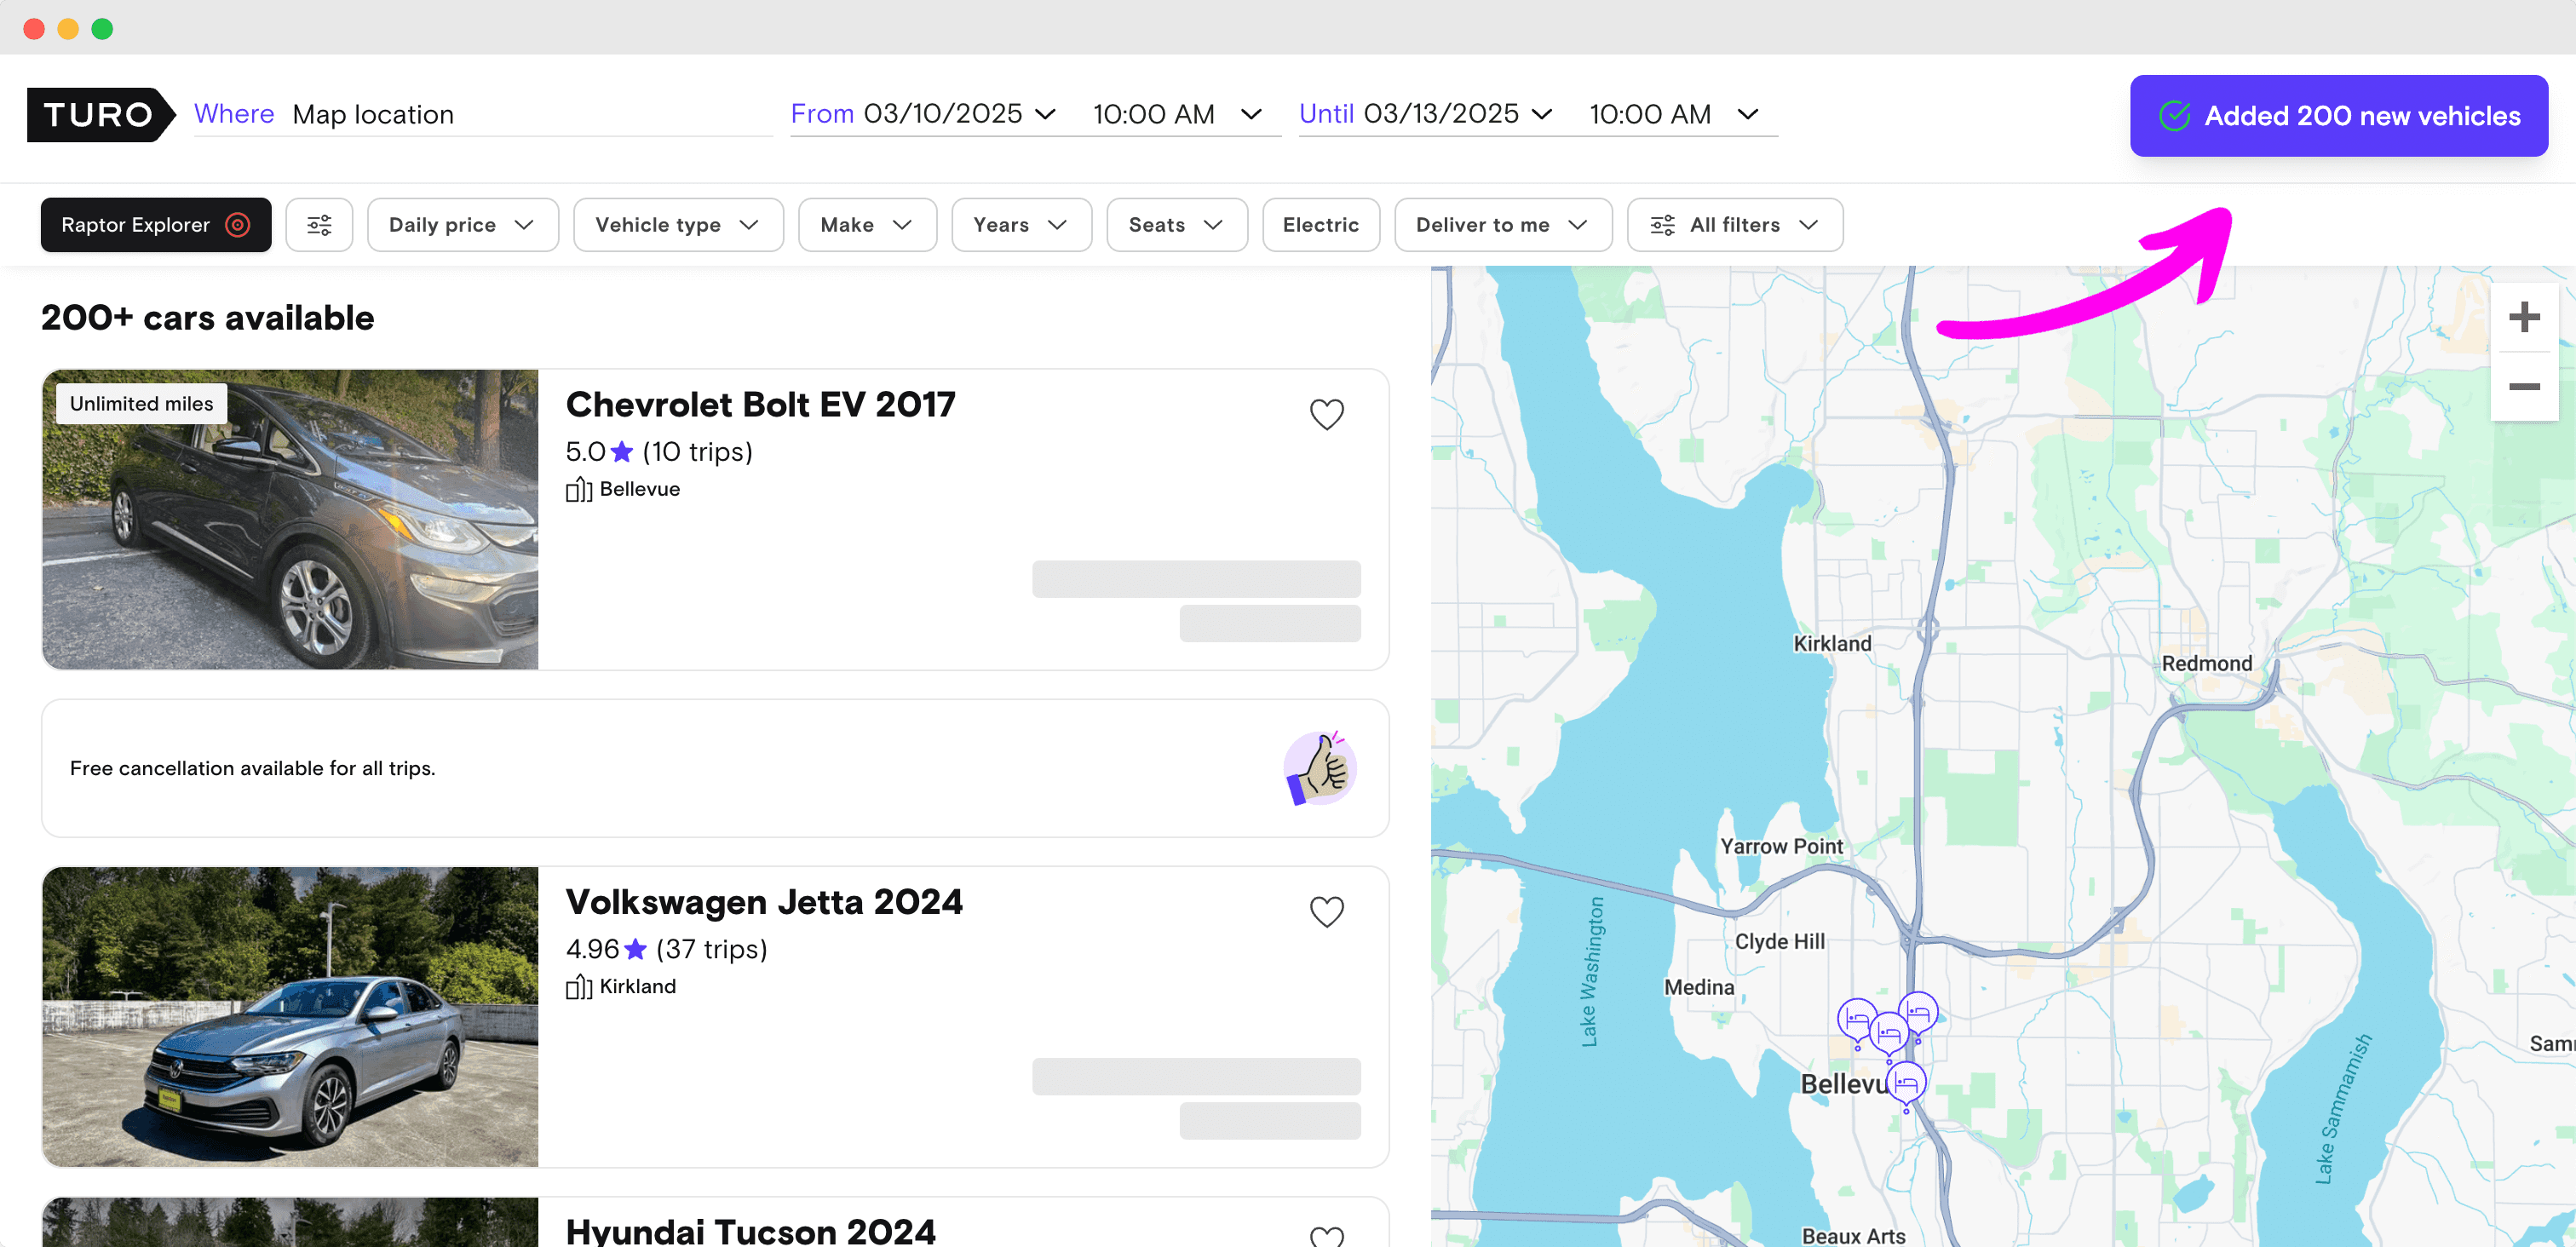
Move the map slightly until the "Search this area" button appears and click it. A notification will show how many vehicles have been added to the Raptor table. Each request captures a maximum of 200 vehicles, so zoom and pan the map to collect all vehicles in the area.
If no notification appears, refresh the page or close and reopen it to restart the script that collects vehicle data.
5. Enrich Data
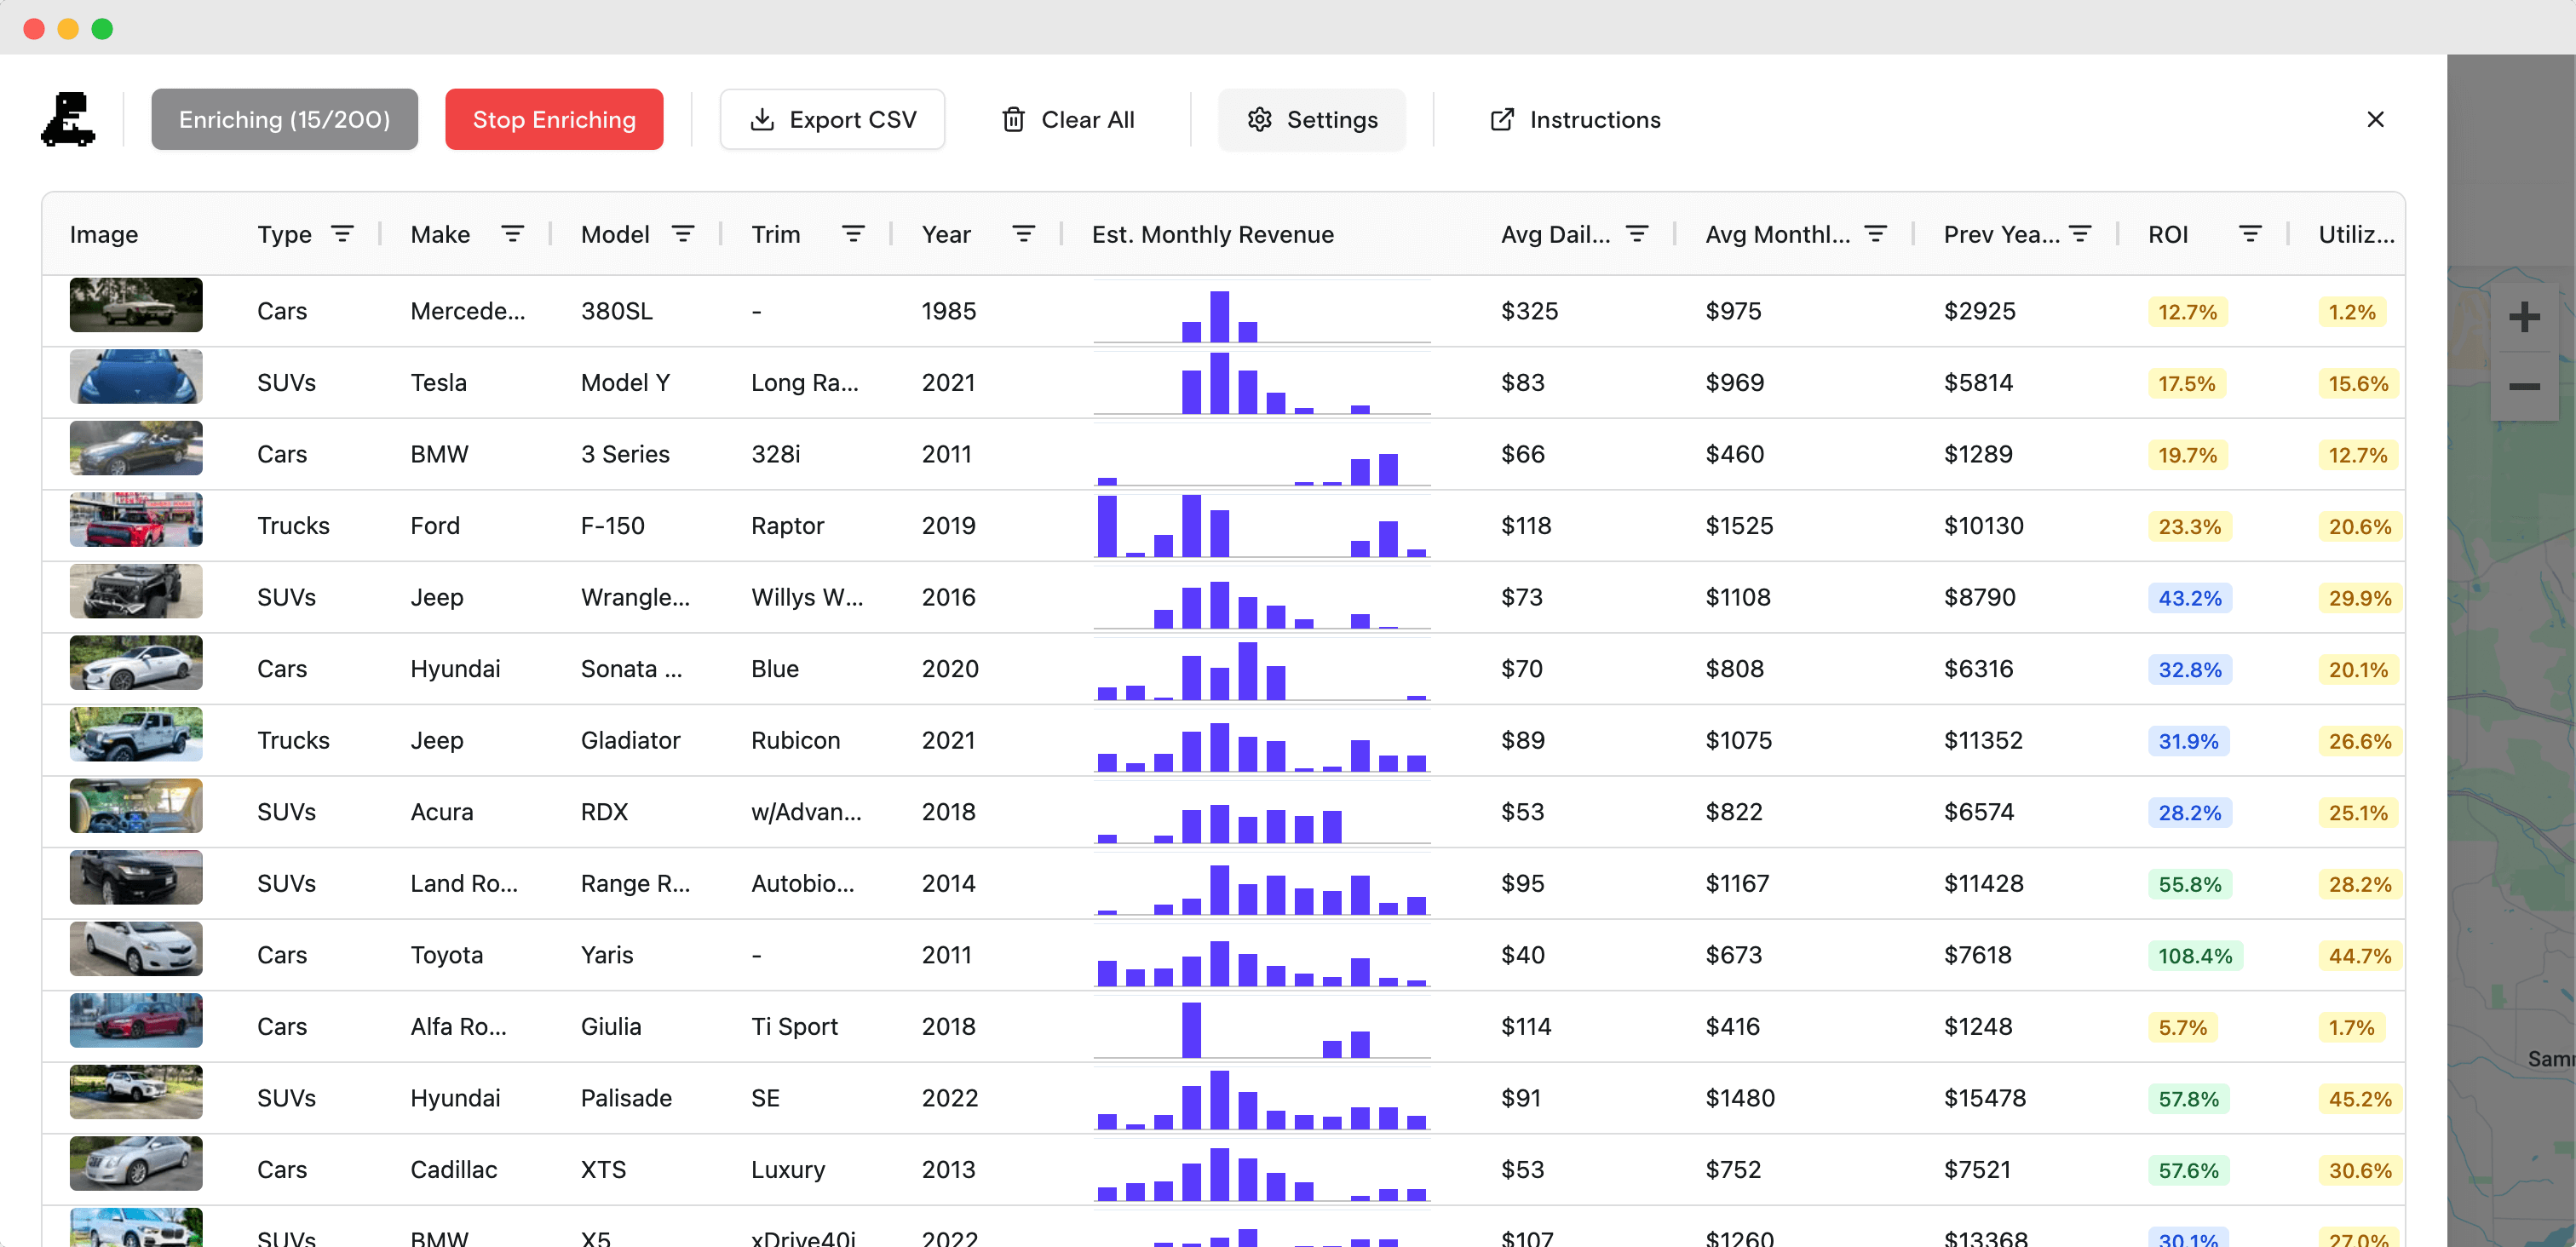
Click "Enrich vehicle data" to gather additional details for all listed vehicles. Each vehicle takes approximately 4 seconds to process because the extension pulls data from multiple sources.
6. Upgrade to Pro
Once you've tested the extension, consider upgrading to Pro to unlock its full potential. The free version allows you to enrich data for up to 5 vehicles, giving you a preview of the insights available.
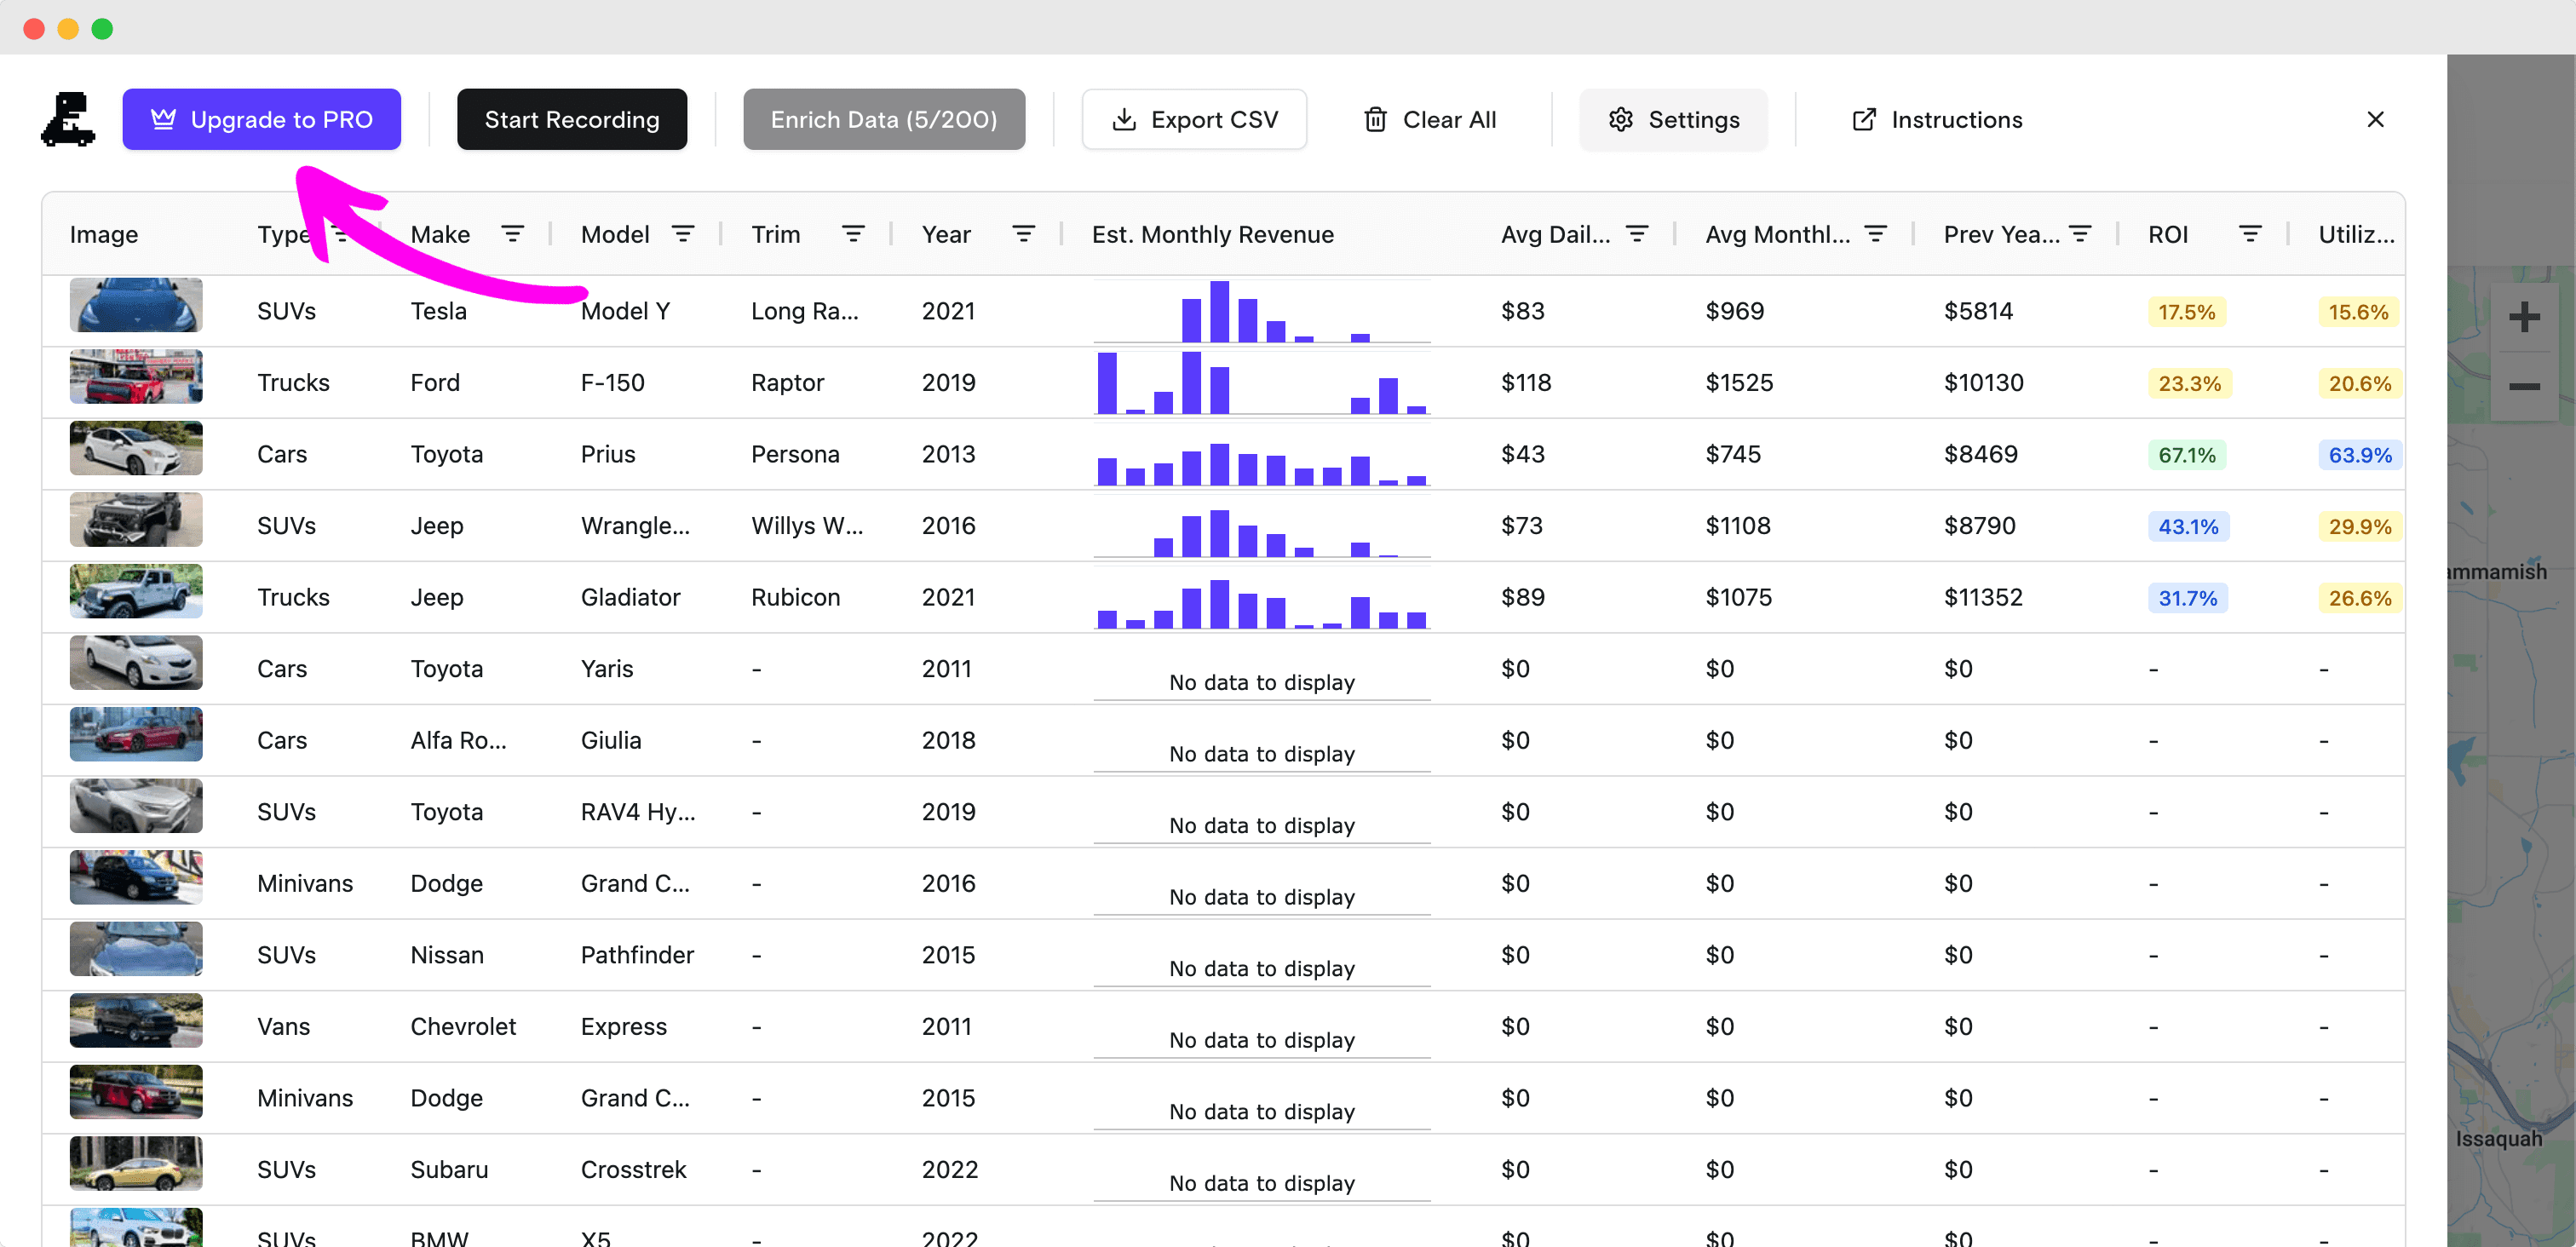
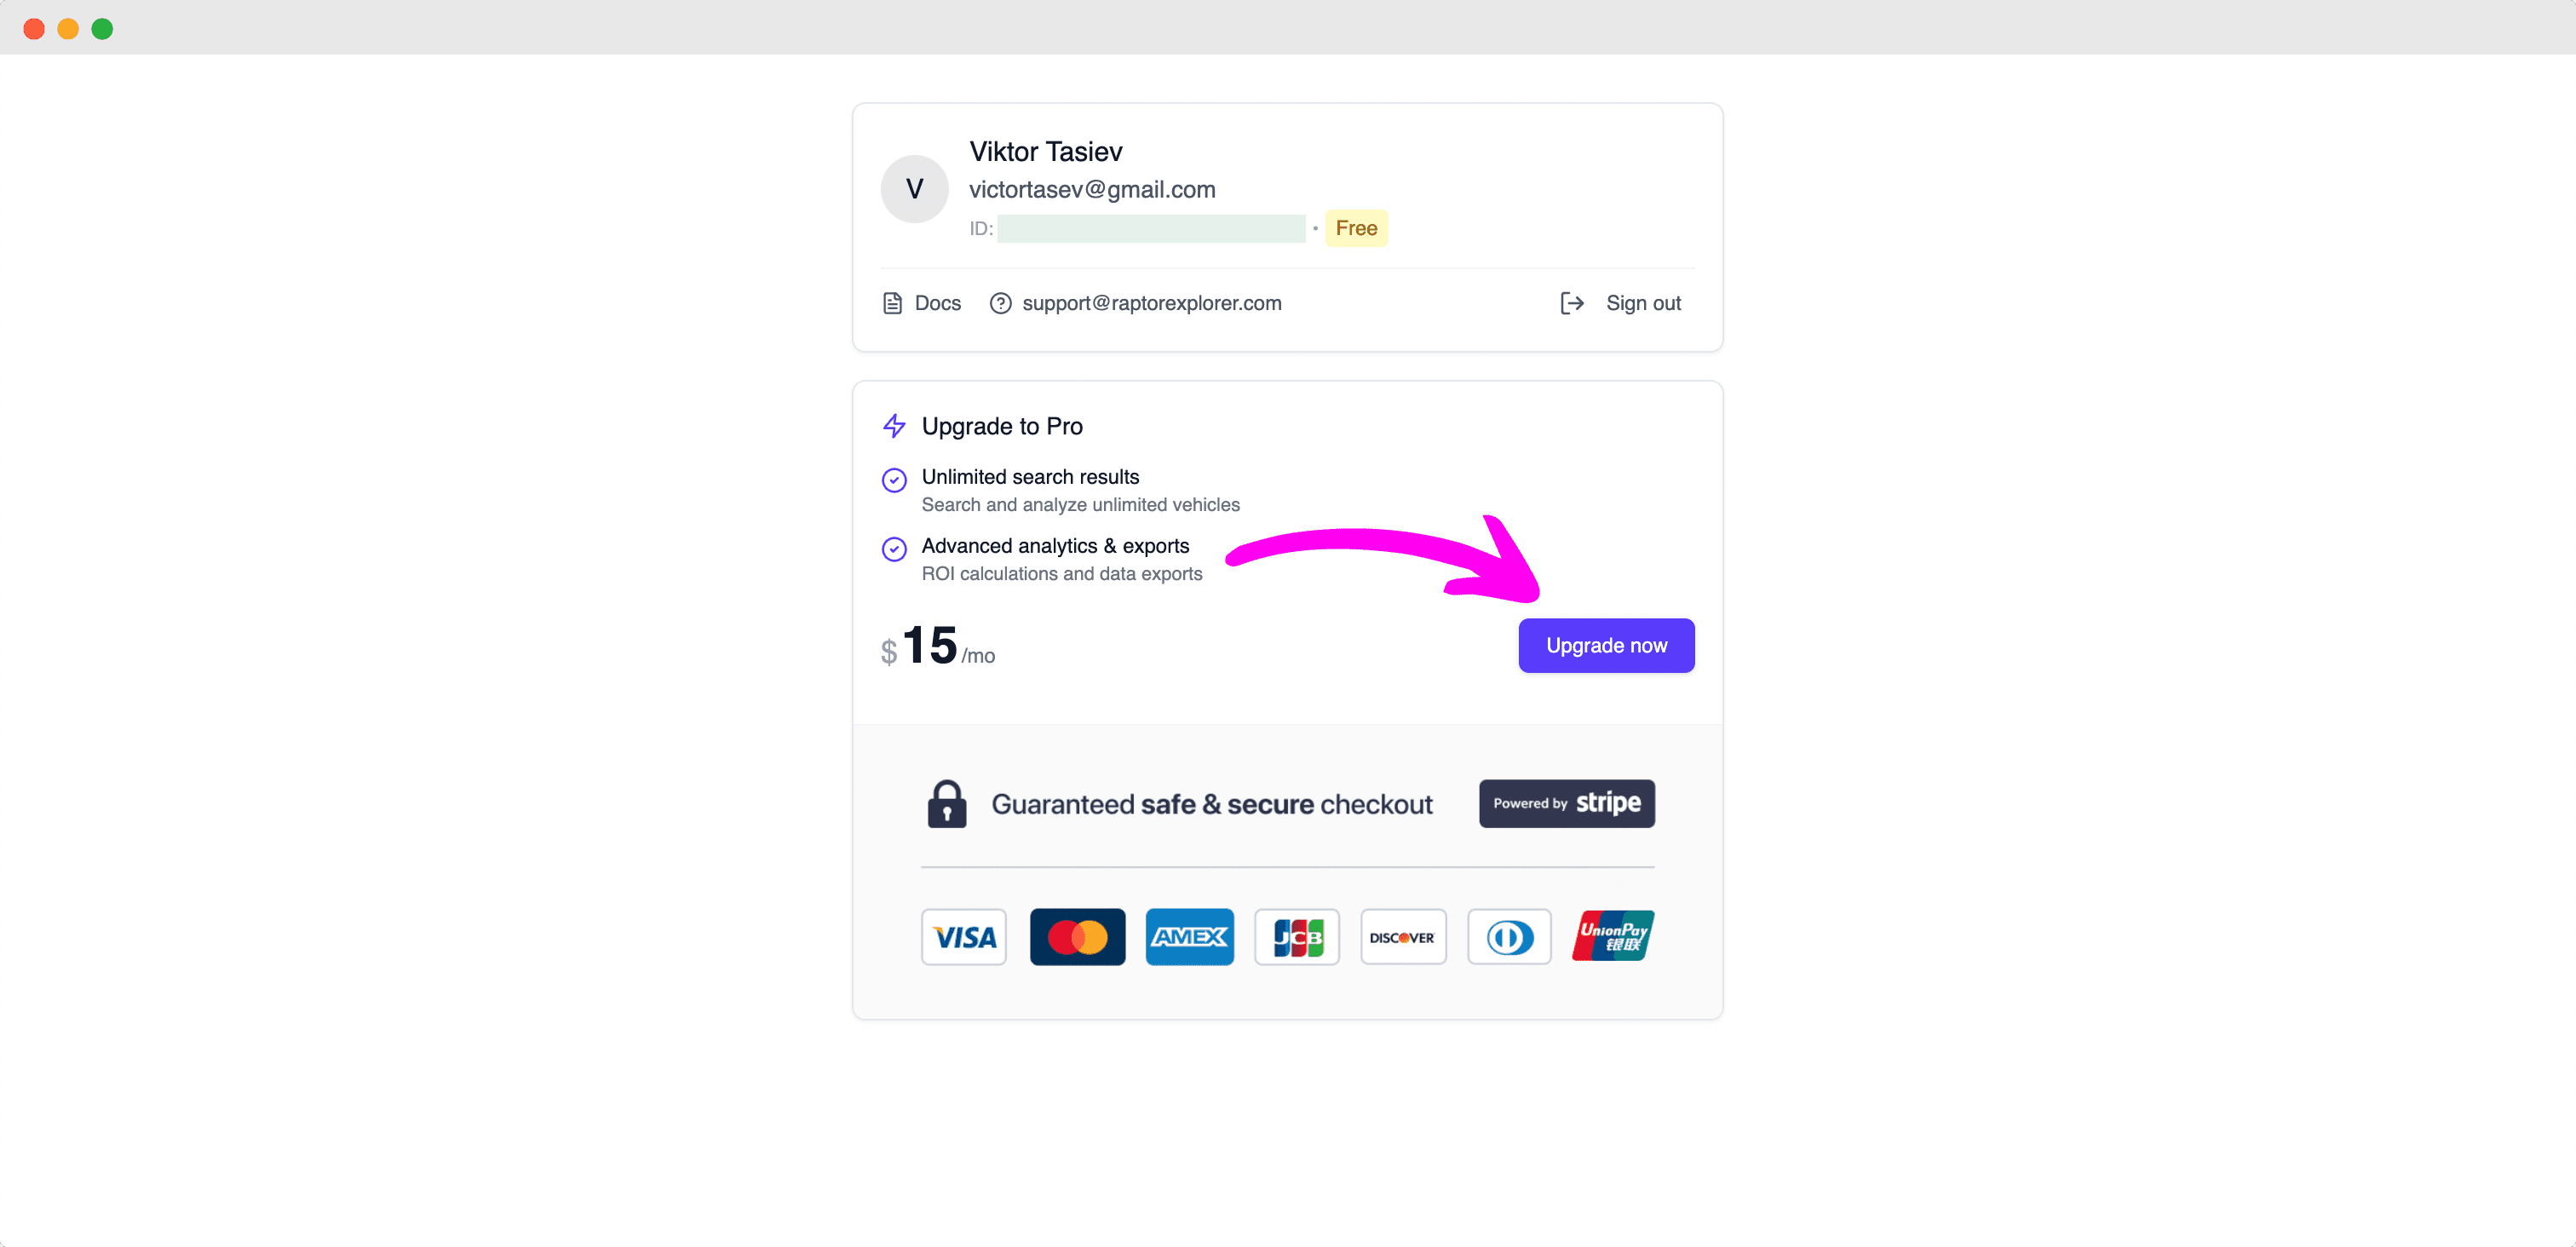
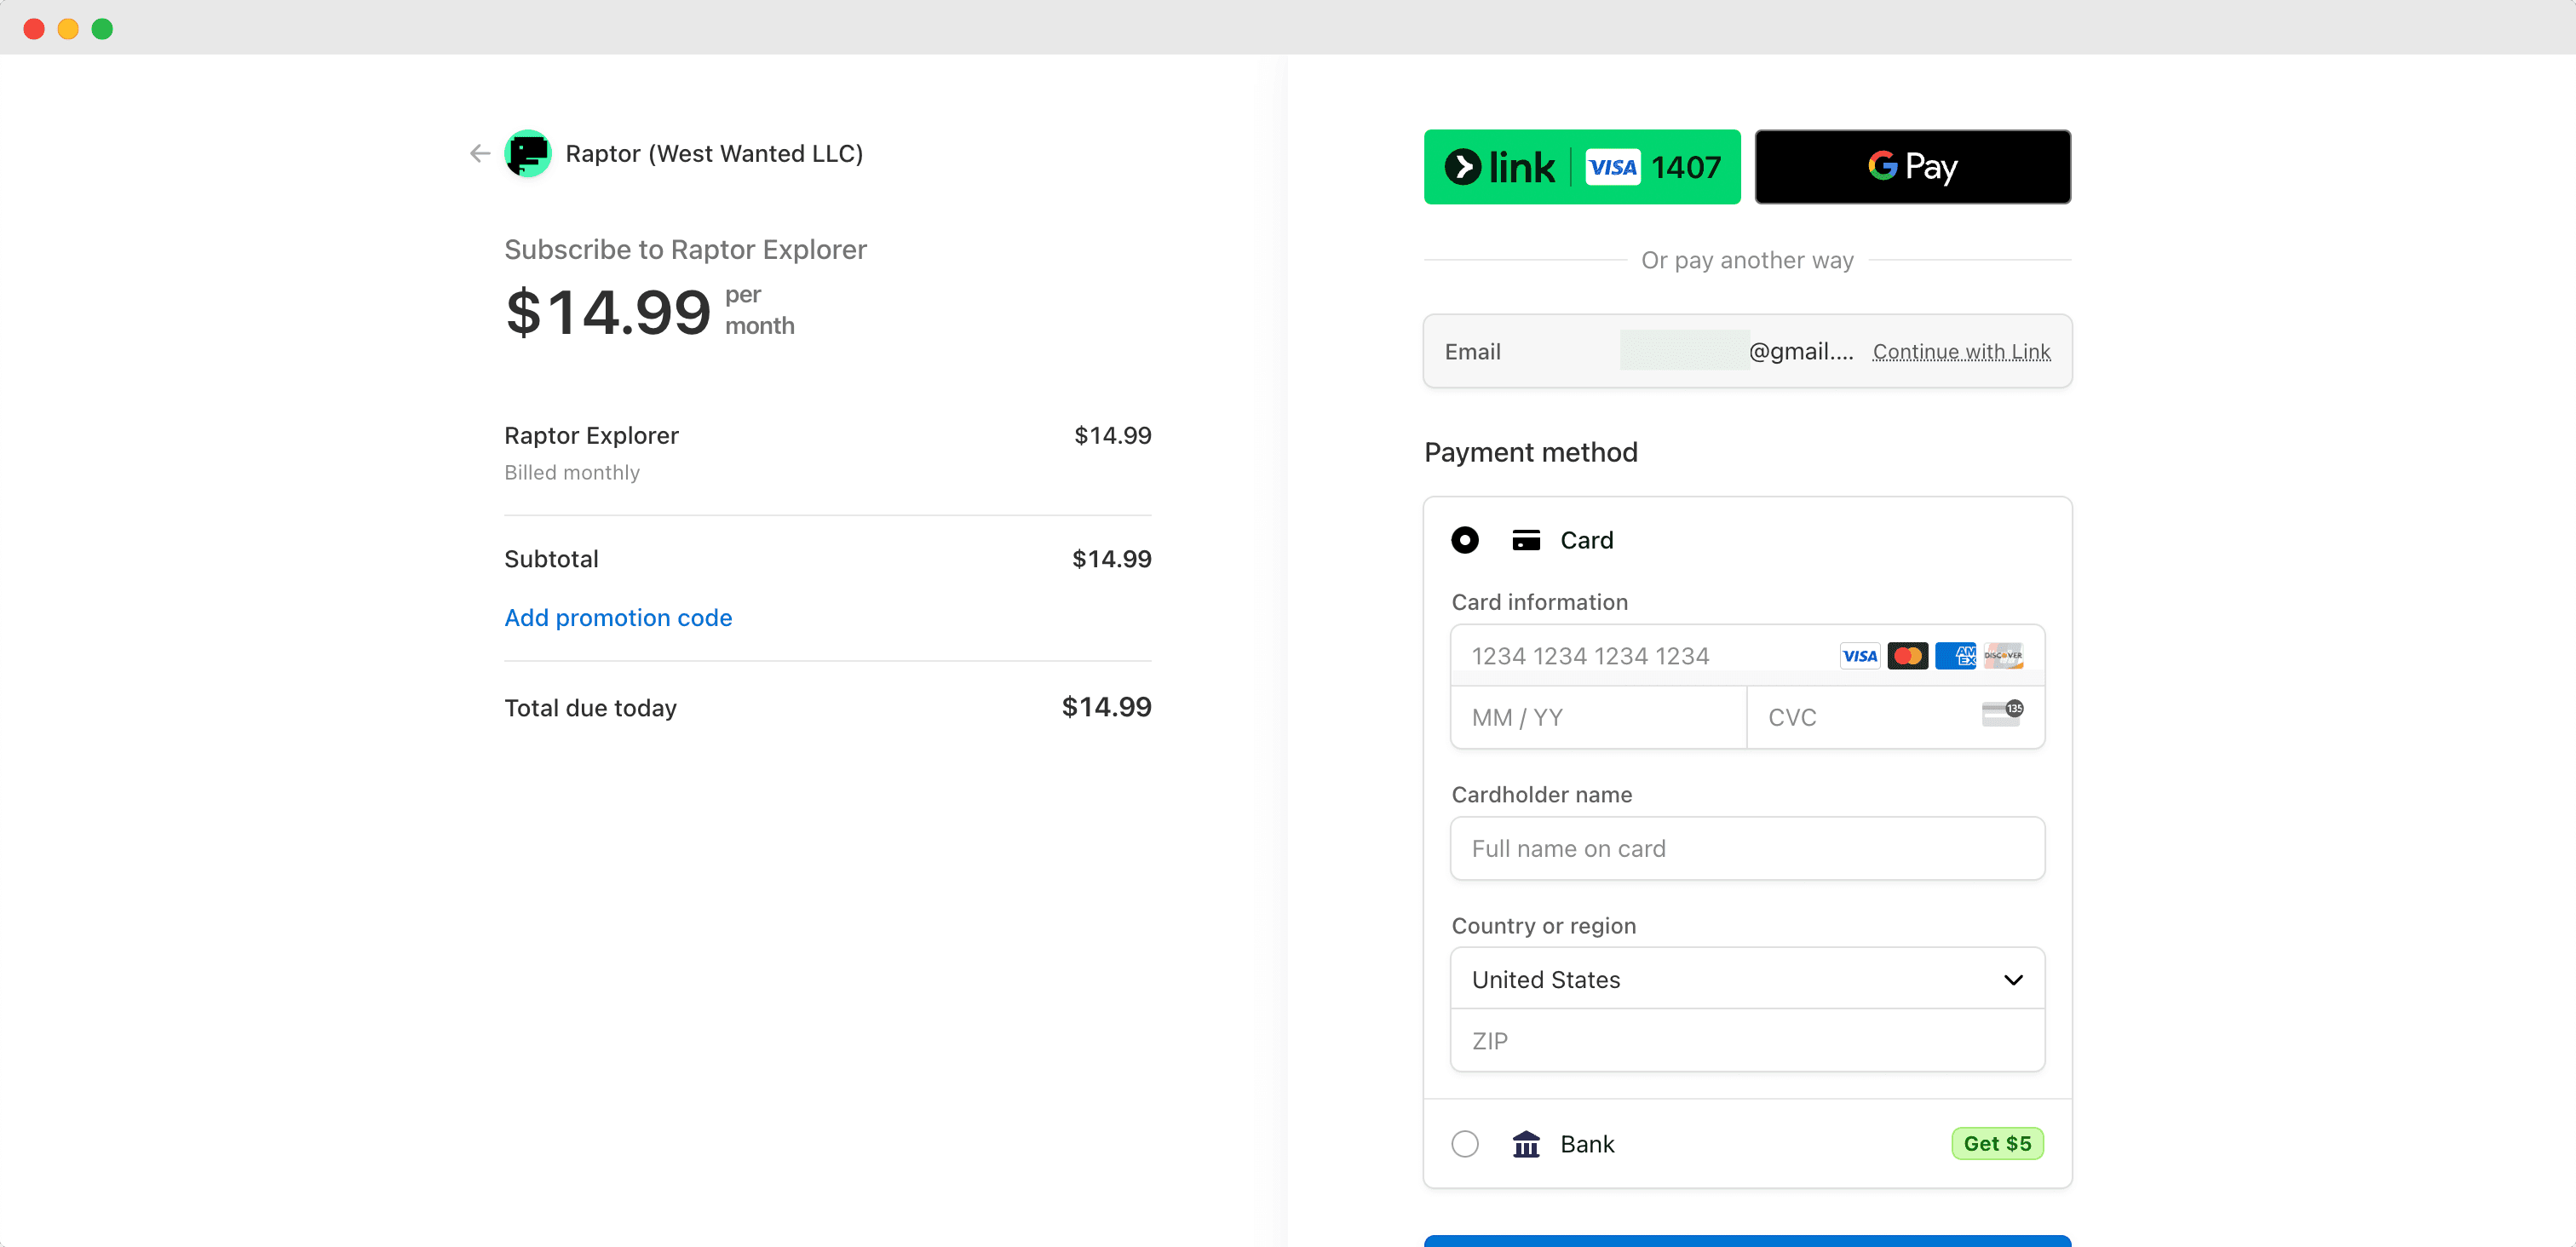
Table Columns & Data Points
Basic Vehicle Information
- Image: Vehicle's primary photo displayed in the Turo listing
- Type: Vehicle category (Cars, SUVs, Minivans, Trucks, Vans, etc.)
- Make: Manufacturer of the vehicle
- Model: Specific model name
- Trim: Specific trim level indicating the variant of the model
- Year: Manufacturing year of the vehicle
Revenue Metrics
- Est. Monthly Revenue: Interactive chart displaying revenue trends
- Avg Daily Price: The average daily rate charged for booked days
- Avg Monthly Revenue: Average monthly earnings based on active rental months
- Prev Year Revenue: Total revenue generated in the previous calendar year
Performance Metrics
- ROI: (Annualized Revenue / Market Value) × 100
- Utilization Rate: Percentage of available days the vehicle was booked
Market & History
- Avg Market Value: Estimated resale value of the vehicle
- Days on Turo: Number of days since first listing
- Trips: Total number of completed rentals
- Favs: How many times the car has been added to users' favorites
- Rating: Average rating given by renters
- Reviews: Total number of guest reviews received
Host Information
- Instant Book: Icons indicating where instant booking is enabled: Airport locations, Custom locations, Home location, Points of interest
- Host: Host name with profile picture
- Host Status: Indicates if host is All-Star and/or Pro
- P Plan: Protection plan rate percentage chosen by host
- Host ID: Unique identifier for the host
Location & Vehicle Details
- City, State: Vehicle's listed location
- Transmission: Auto or Manual
- Color: Vehicle color with visual indicator
- Daily Distance: Allowed daily mileage
- Weekly Distance: Allowed weekly mileage
- Monthly Distance: Allowed monthly mileage
- Excess Fee: Per mile/km charge for exceeding distance limits
Pricing & Discounts
- Weekly Discount: Percentage discount for weekly rentals
- Monthly Discount: Percentage discount for monthly rentals
Listing Information
- Listed: Date when the vehicle was first listed on Turo
- Vehicle ID: Unique identifier for the vehicle
- Listing URL: Direct link to the vehicle's Turo listing
Settings Panel
The settings panel allows you to customize how revenue calculations are performed. These settings affect all revenue-related metrics in the table and exports.
1. Include Weekly/Monthly Discounts
Revenue calculations include any applicable weekly (7+ days) or monthly (31+ days) discounts offered by the host
Revenue is calculated using the base daily rate without any discounts
Calculation Method:
- For bookings ≥ 31 days: Applies monthly discount percentage
- For bookings ≥ 7 days: Applies weekly discount percentage (if no monthly discount applies)
2. Apply Protection Plan Rate
Shows full revenue before protection plan fees
Revenue is adjusted based on the host's chosen protection plan rate
Impact on Revenue Metrics
These settings affect the following columns:
- Est. Monthly Revenue
- Avg Monthly Revenue
- Prev Year Revenue
- ROI (due to changes in revenue calculations)
Export Considerations
- When exporting to CSV, the current settings state is included in the export
- A "Revenue Settings" column indicates which adjustments were applied to the calculations
- Settings are preserved between sessions
Manage Your Subscription
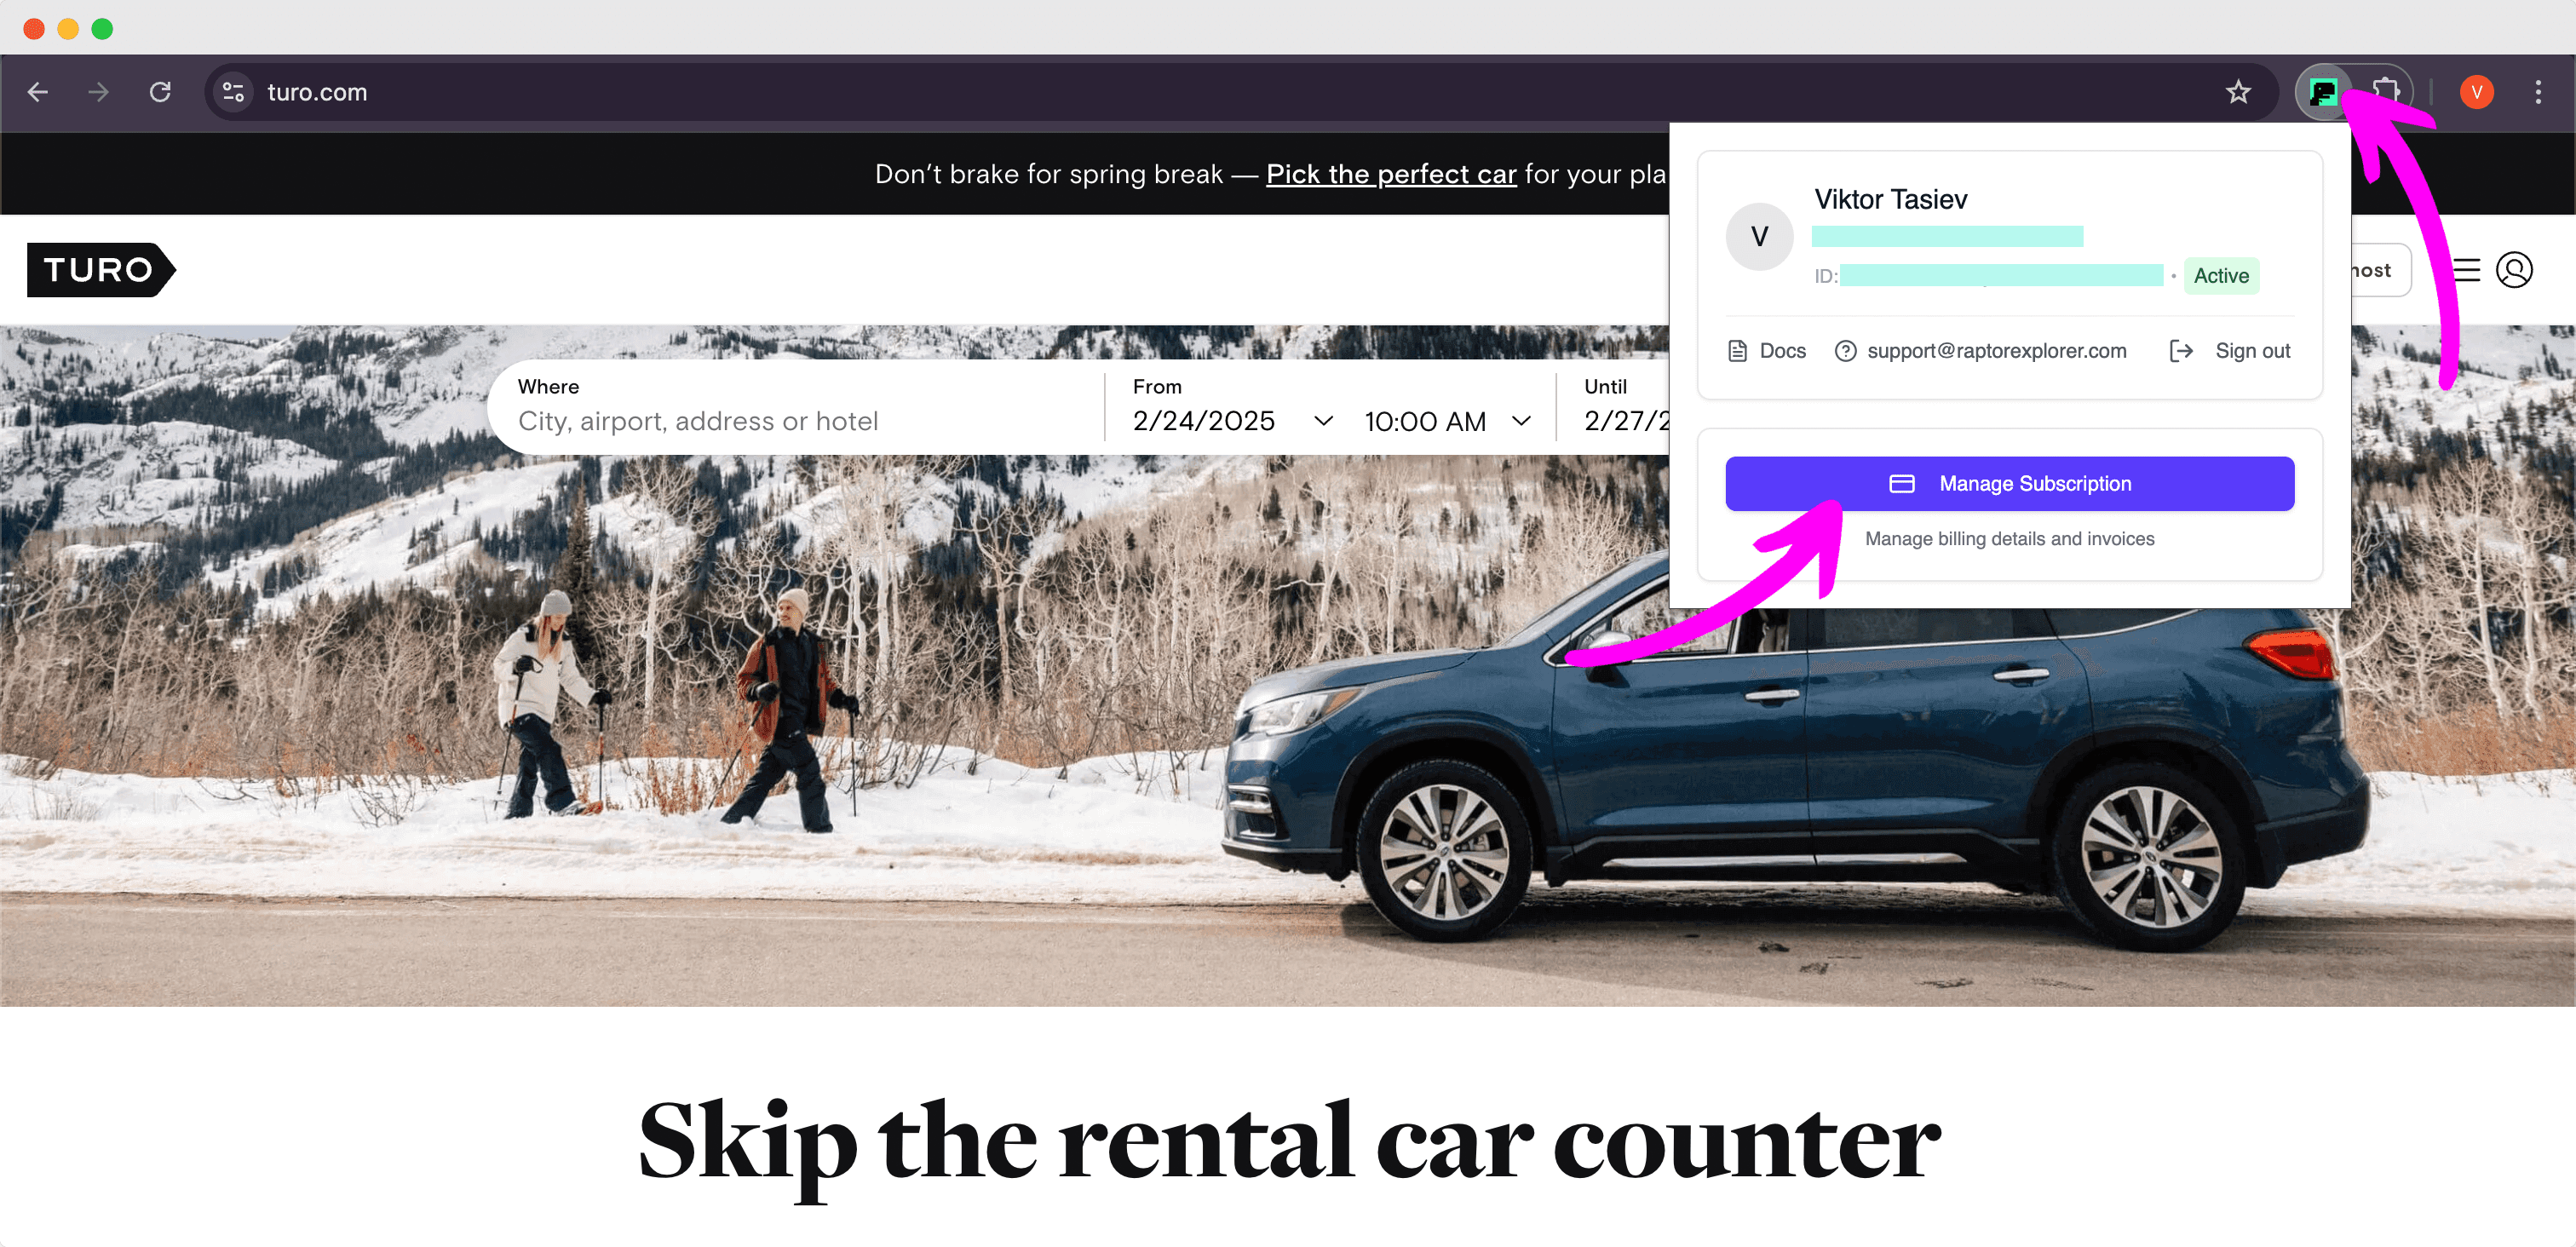
Click on the extension icon in your browser's extensions bar, then select "Manage Subscription." This will open the Stripe customer portal, where you can update your billing details, download invoices, or cancel your subscription.
Common Issues
Vehicle Data Not Enriching (Pro Members)
If you're a Pro member and experiencing issues with vehicle data enrichment, follow these steps:
- Sign out of your account:
- Click the Raptor Explorer icon in your Chrome toolbar (cif extension is not pinned click puzzle icon in top right corner first)
- Click "Sign Out"
- Sign back in:
- Return to Turo and click the Raptor Explorer button
- Click "Sign in with Google"
- Select your account
Having issues?
Please contact our support team at support@raptorexplorer.com. This could indicate a temporary service disruption affecting all users.
Support
For any questions or feature requests, contact support@raptorexplorer.com